Virtual tours in architecture offer immersive 3D previews of spatial designs, allowing for better client engagement and immediate feedback. They also act as powerful marketing tools, showcasing architects' skills and embracing technology to reach a wider audience. You can now take this even further by adding Dollhouse view to your tours, transforming the 2D layout into an interactive 3D model.
This feature is now accessible to users of D5 for Teams, providing a superior platform for showcasing designs and captivating clients. In this blog, we will provide a comprehensive guide on utilizing this feature effectively.
How to Create a Virtual Tour in D5 Render
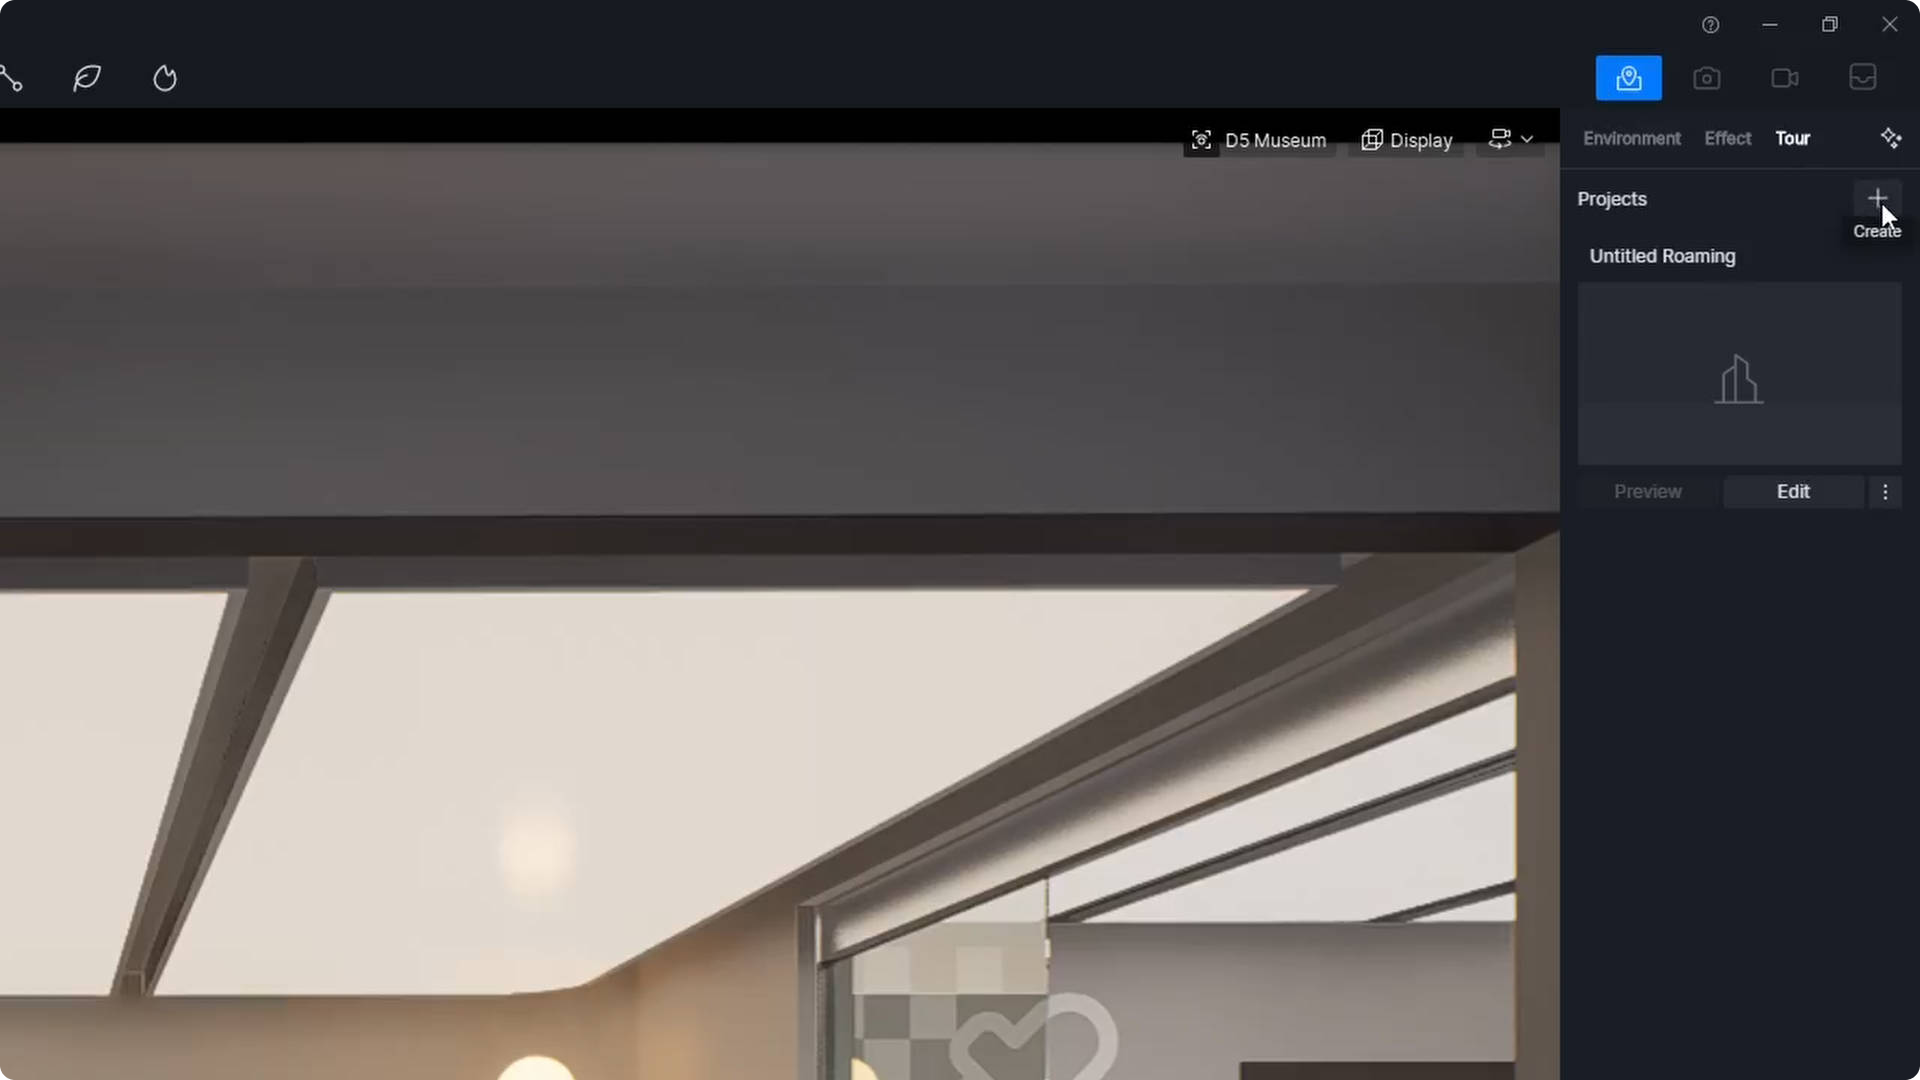
- Start a new virtual tour project
D5 Render provides an easy and intuitive way to create a virtual tour. Once the visualization process is completed, you can initiate a new virtual tour from the current environment by clicking on the '+' icon under the 'Tour' menu.
- Edit the tour path
Navigate to an appropriate view point using shortcut keys WASDQE and click 'Add Position' to insert the respective camera position at that spot.
The starting viewpoint will be auto-set once you add the first camera position.

Since each camera has a point on the ground that's vertically aligned with it as its counterpart, you can right click to switch between the physical position and the ground position as you like.
Once you've established all the viewpoints, select 'Done' to transition into preview mode, where the camera automatically reverts to the starting viewpoint. You can then click in the scene to navigate through the different viewpoints with ease.
- Render the virtual tour
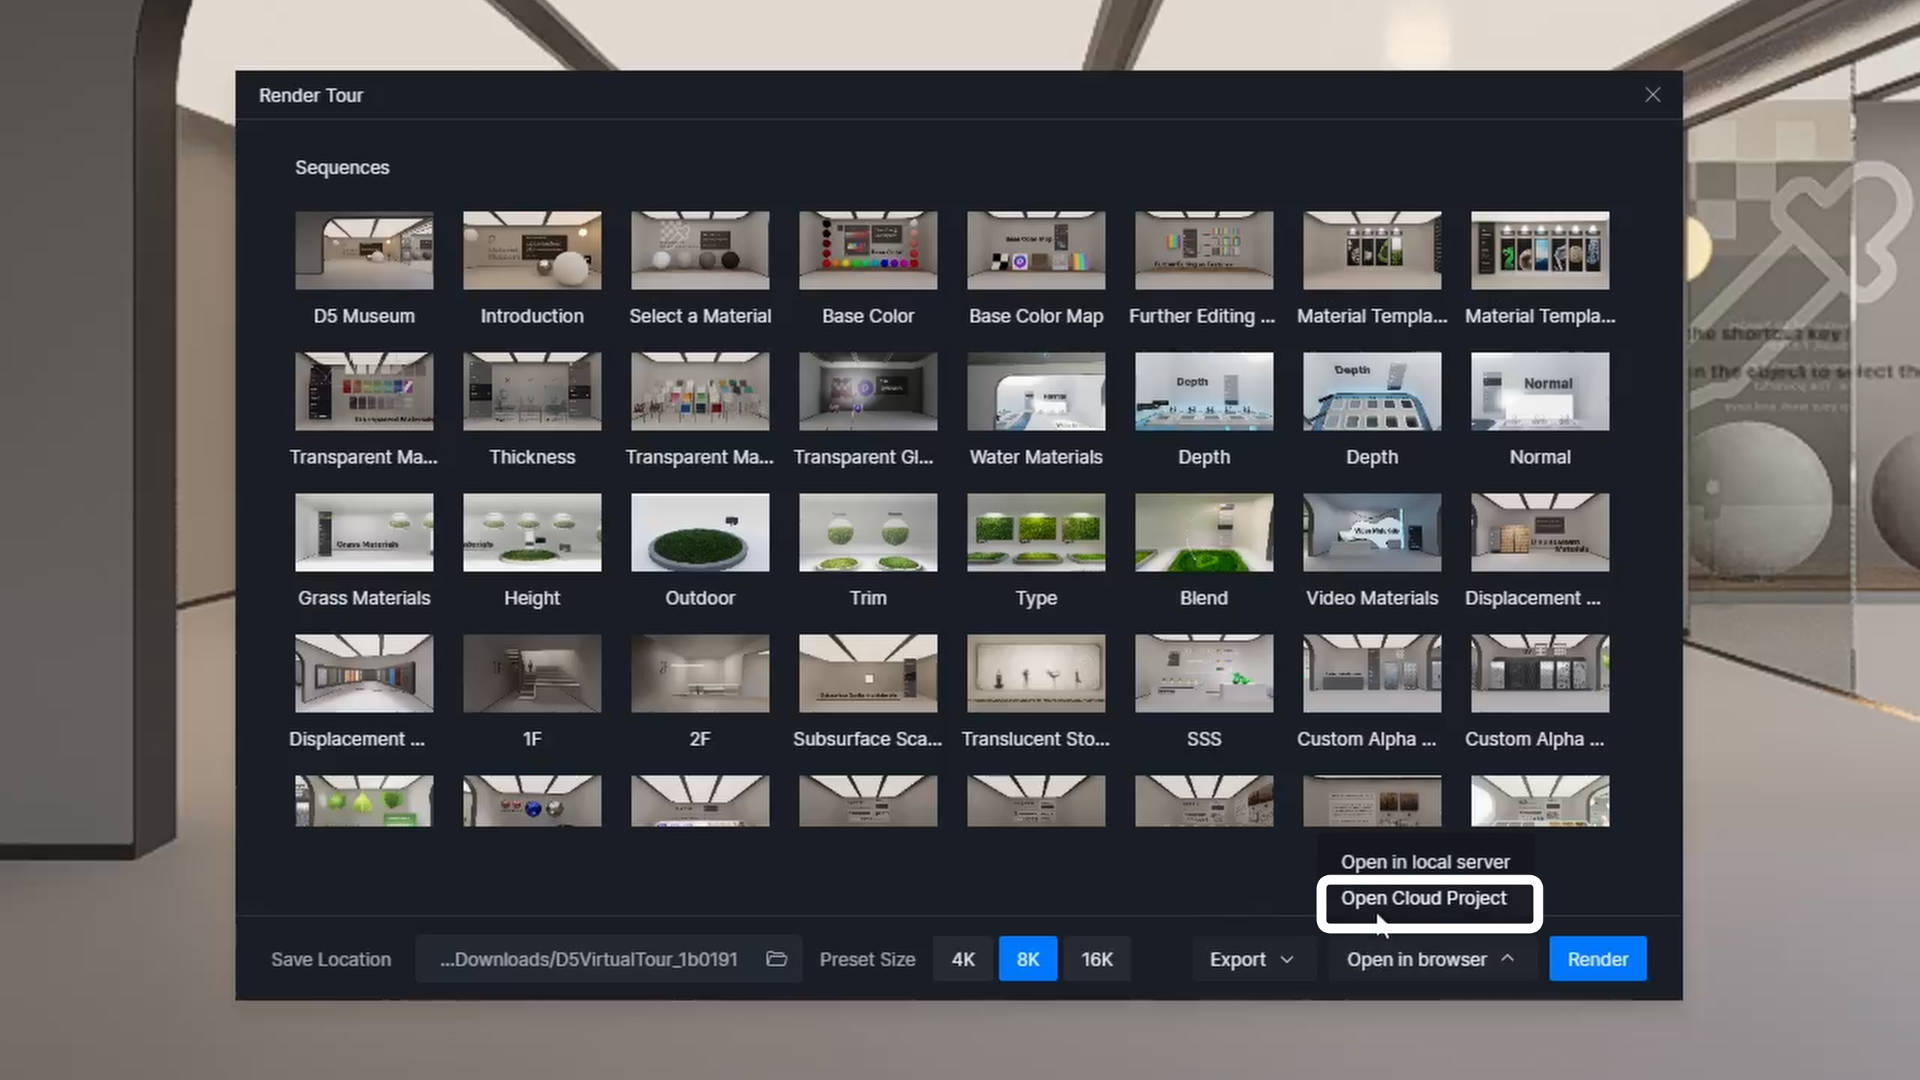
With all steps completed, you're ready to export your virtual tour. Don't forget to specify the storage path and select your desired resolution prior to rendering.

Once rendering is complete, you can instantly preview the virtual tour on a web page by choosing 'Open in browser' followed by 'Open in local server'.
How to Share Virtual Tours with Clients
D5 provides two convenient options for distributing your virtual tour:
- Share publicly on the D5 Showreel platform for wide accessibility.
- Opt for offline delivery with an .exe file, ensuring privacy for sensitive projects.
Share via D5 Showreel
D5 Showreel serves as the premier platform for managing your virtual tour projects and showcasing them to the public.
To seamlessly share your virtual tour using D5 Showreel, follow these steps:
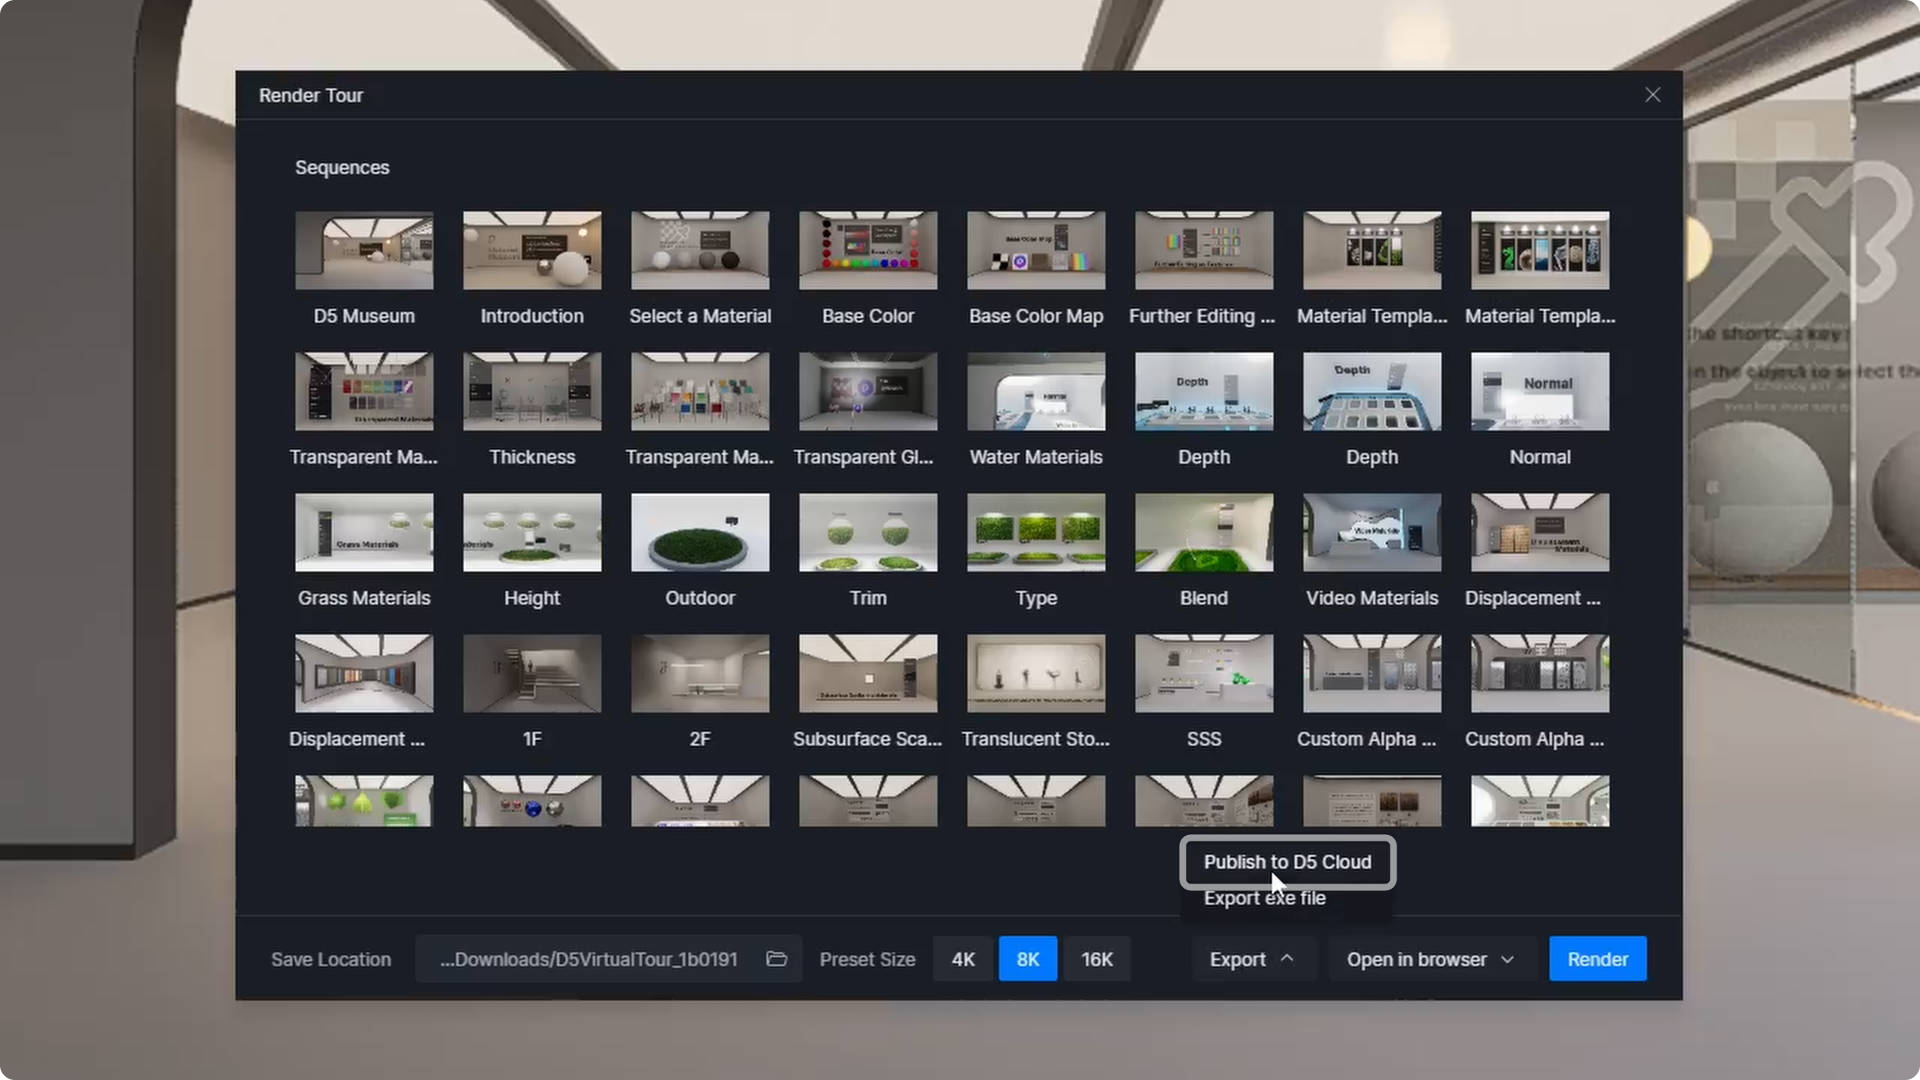
- Navigate to the 'Export' menu and select 'Publish to D5 Cloud'.
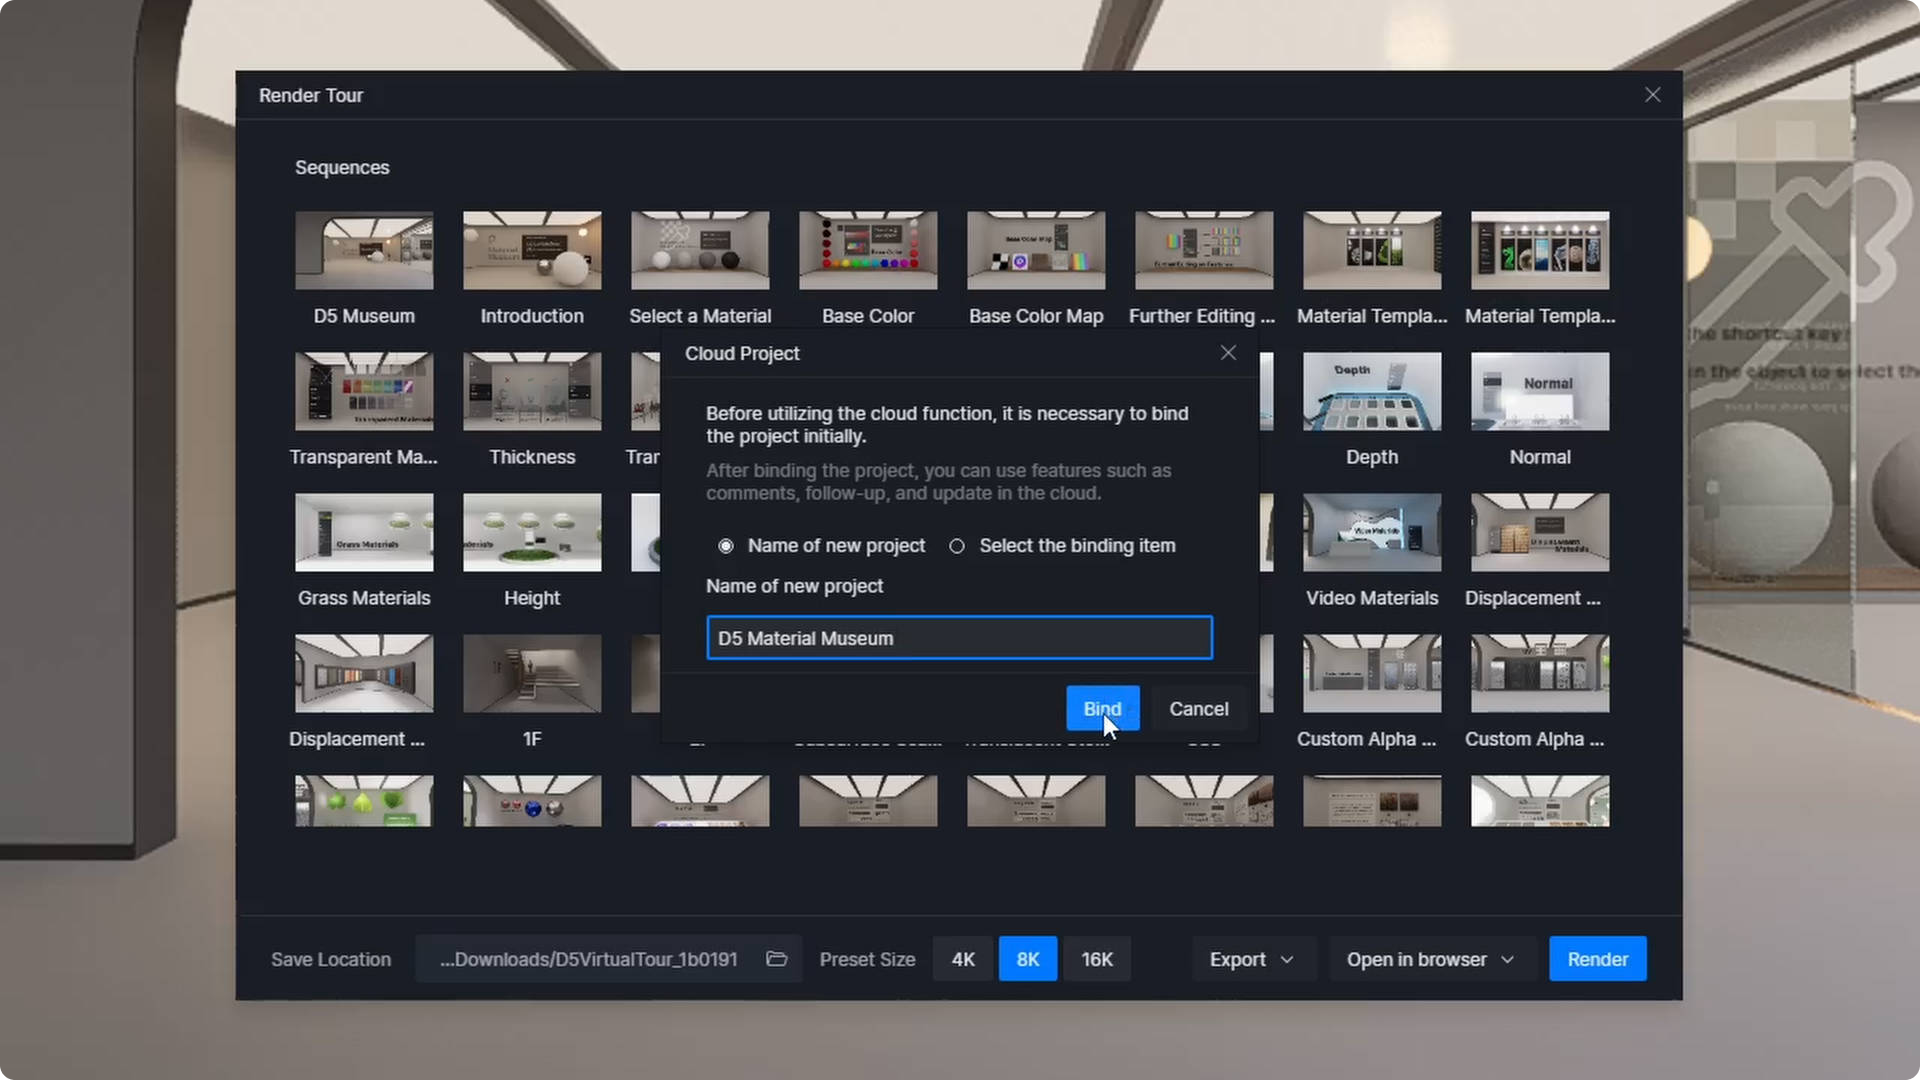
- You'll be guided to associate your virtual tour with a cloud project. At this juncture, you can either link it to a new project or integrate it with one that's already in progress.
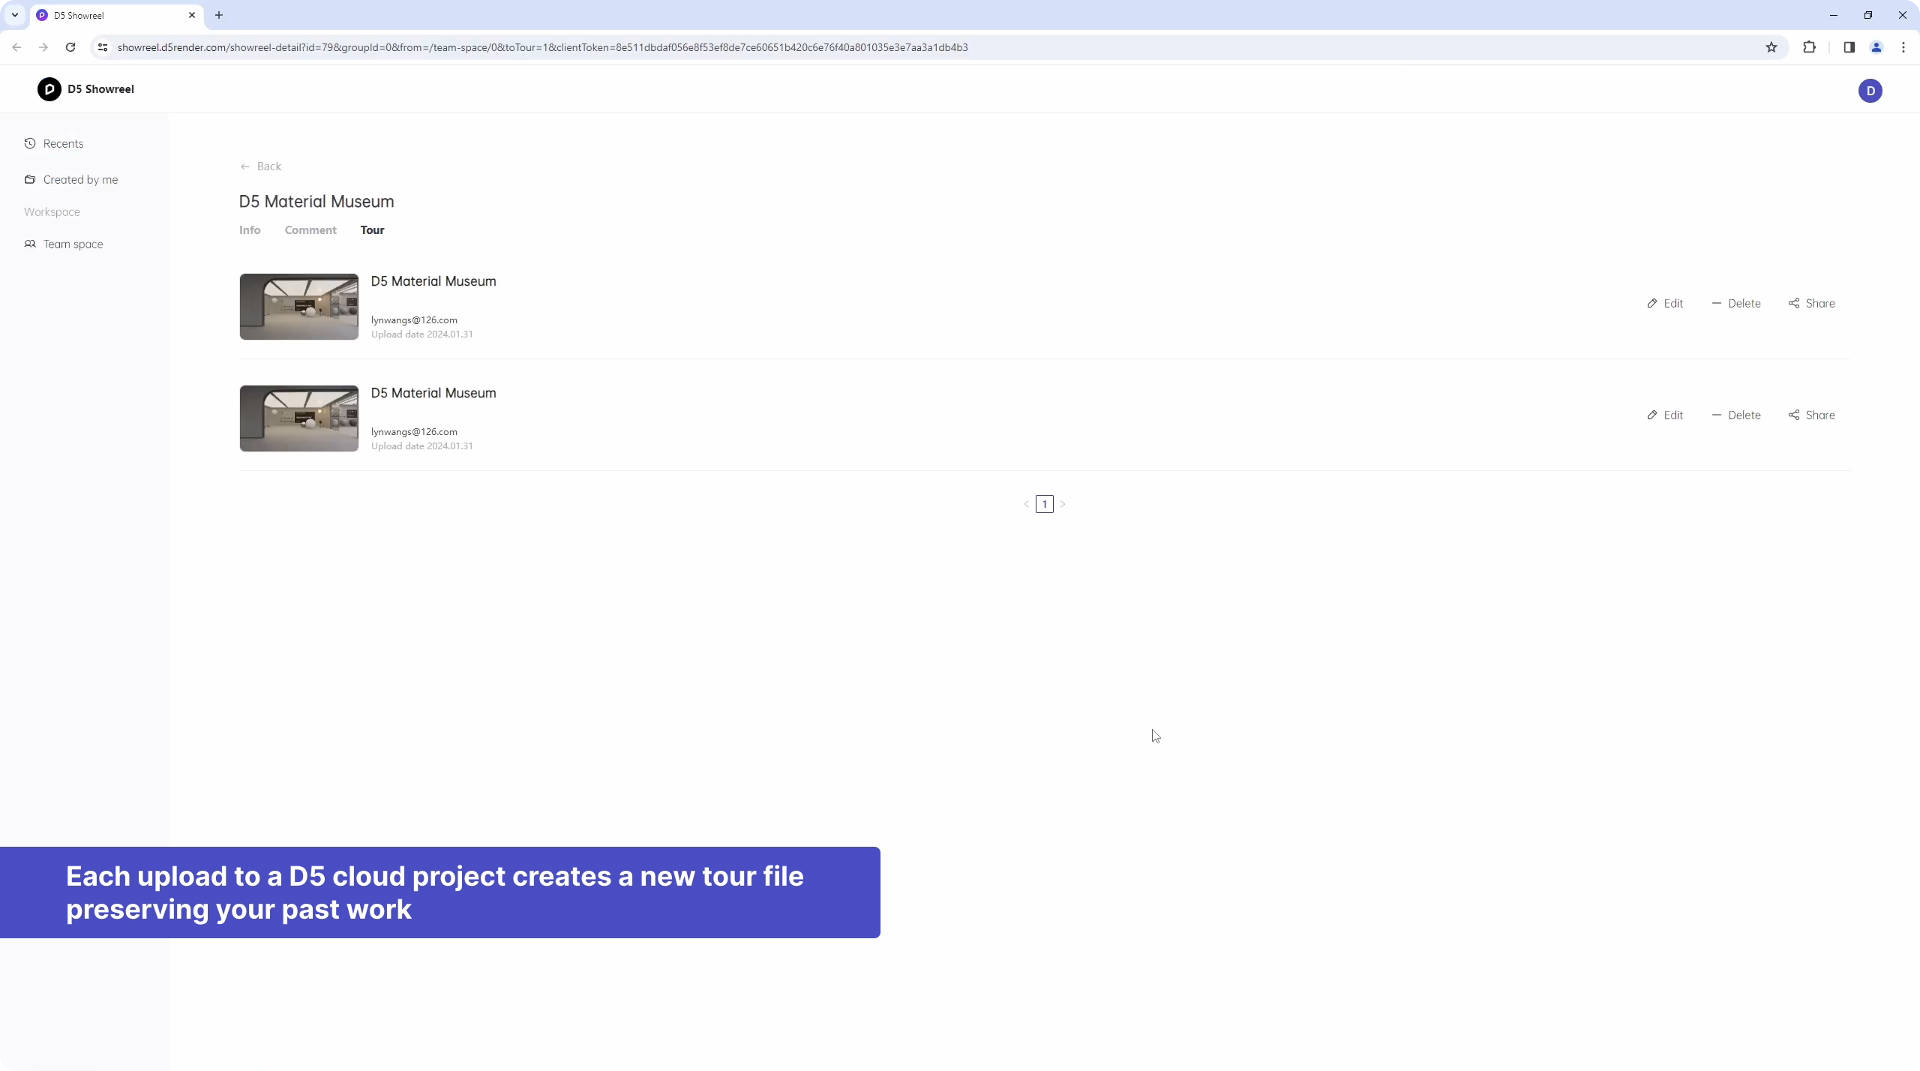
- Once the association is established, select 'Open Cloud Project' to review your project, which may contain a series of virtual tours. Each upload to a D5 cloud project creates a new tour file, preserving your past work.
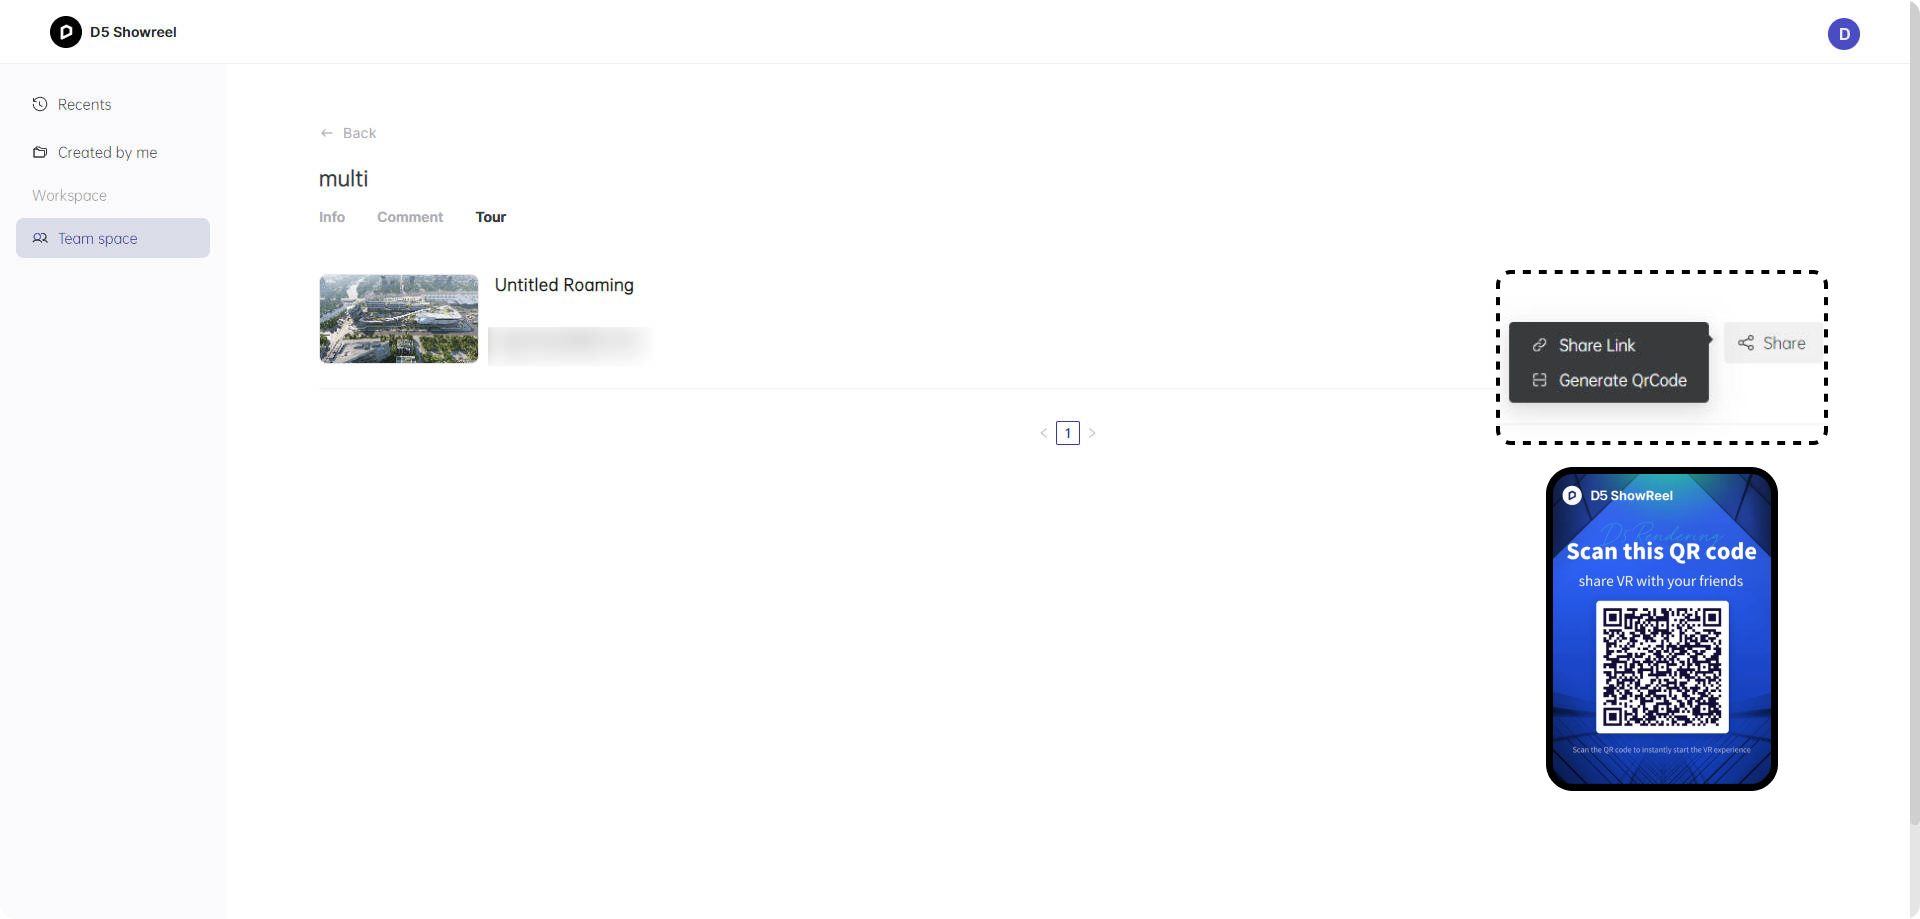
- Share your work quickly with a unique link or a QR code poster for clients or social media outreach.
To manage your projects with ease, follow these steps:
- Log into MySpace using your Teams account.
- Proceed to 'Project Hub' located in the top right corner to access your team's collaborative space. The hub enables management of both personal and team cloud projects.
Further Editing on D5 Showreel using Panorama Editor
Refining the virtual tour for enhanced walkthrough experience by D5 Render Panorama Editor is straightforward.
D5 Render Panorama Editor provides robust camera and hotspot customization.
- Global settings include project details, rotation, music, and transposition animations, with 3D transposition maintaining camera direction across views.
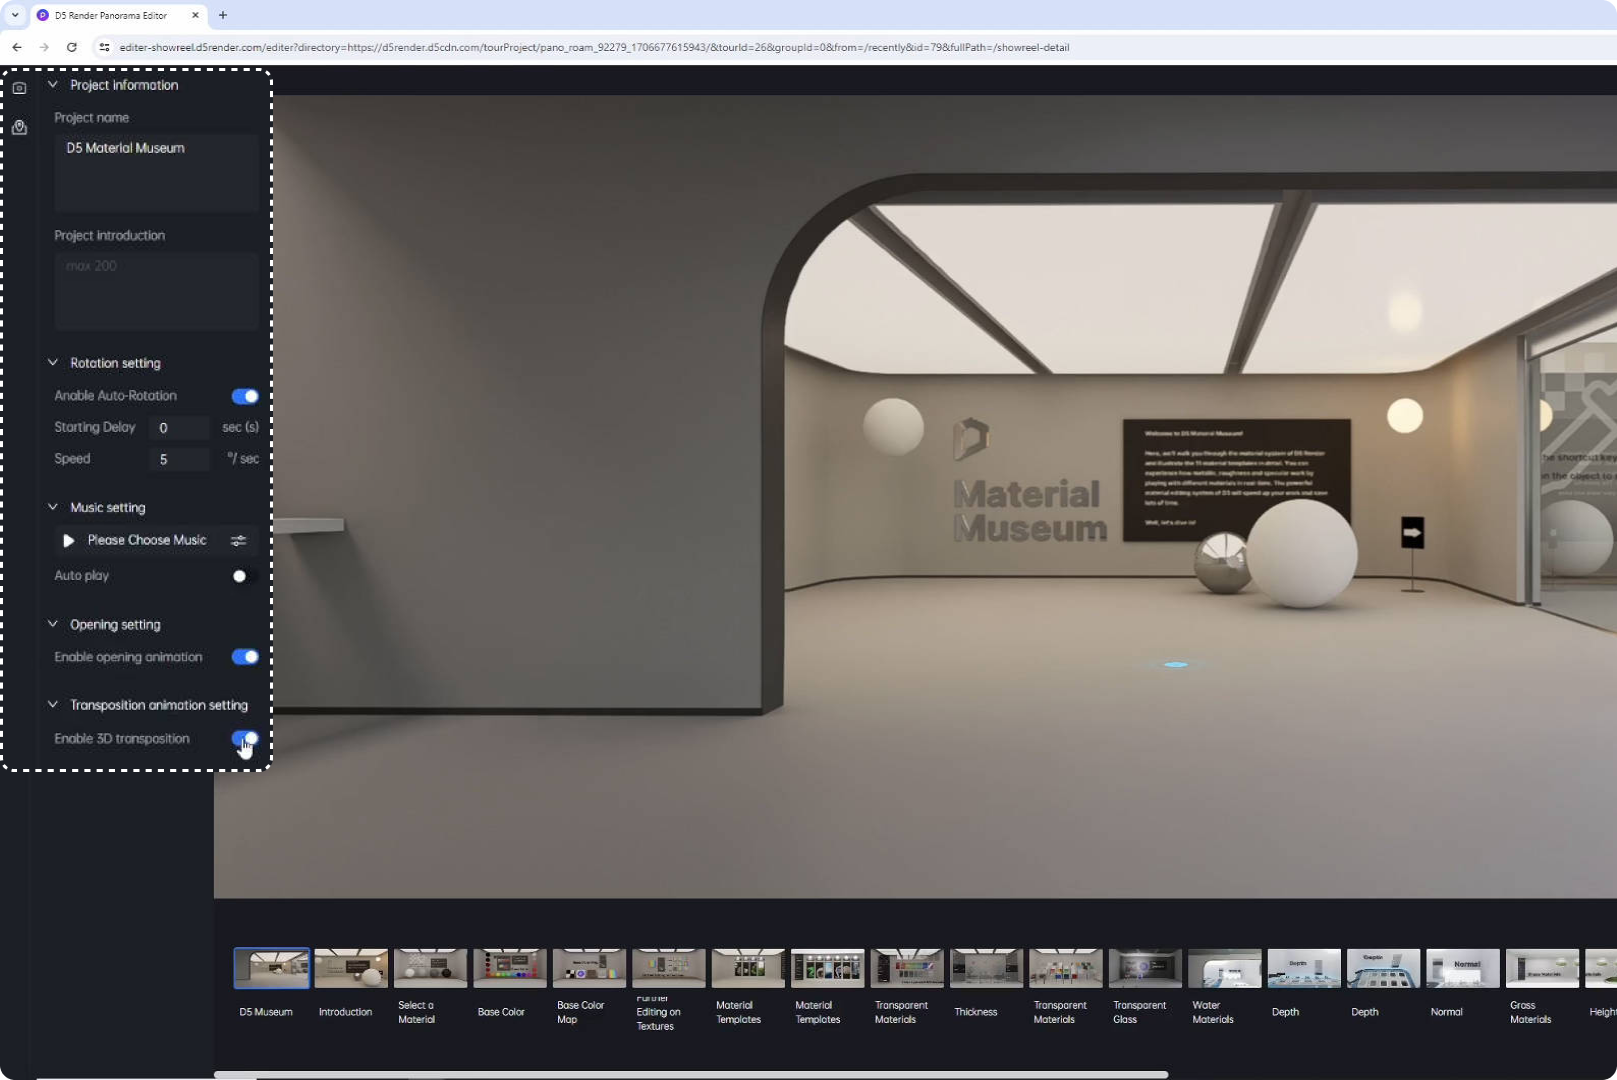
- Camera settings support adjustments to FOV and rotation.
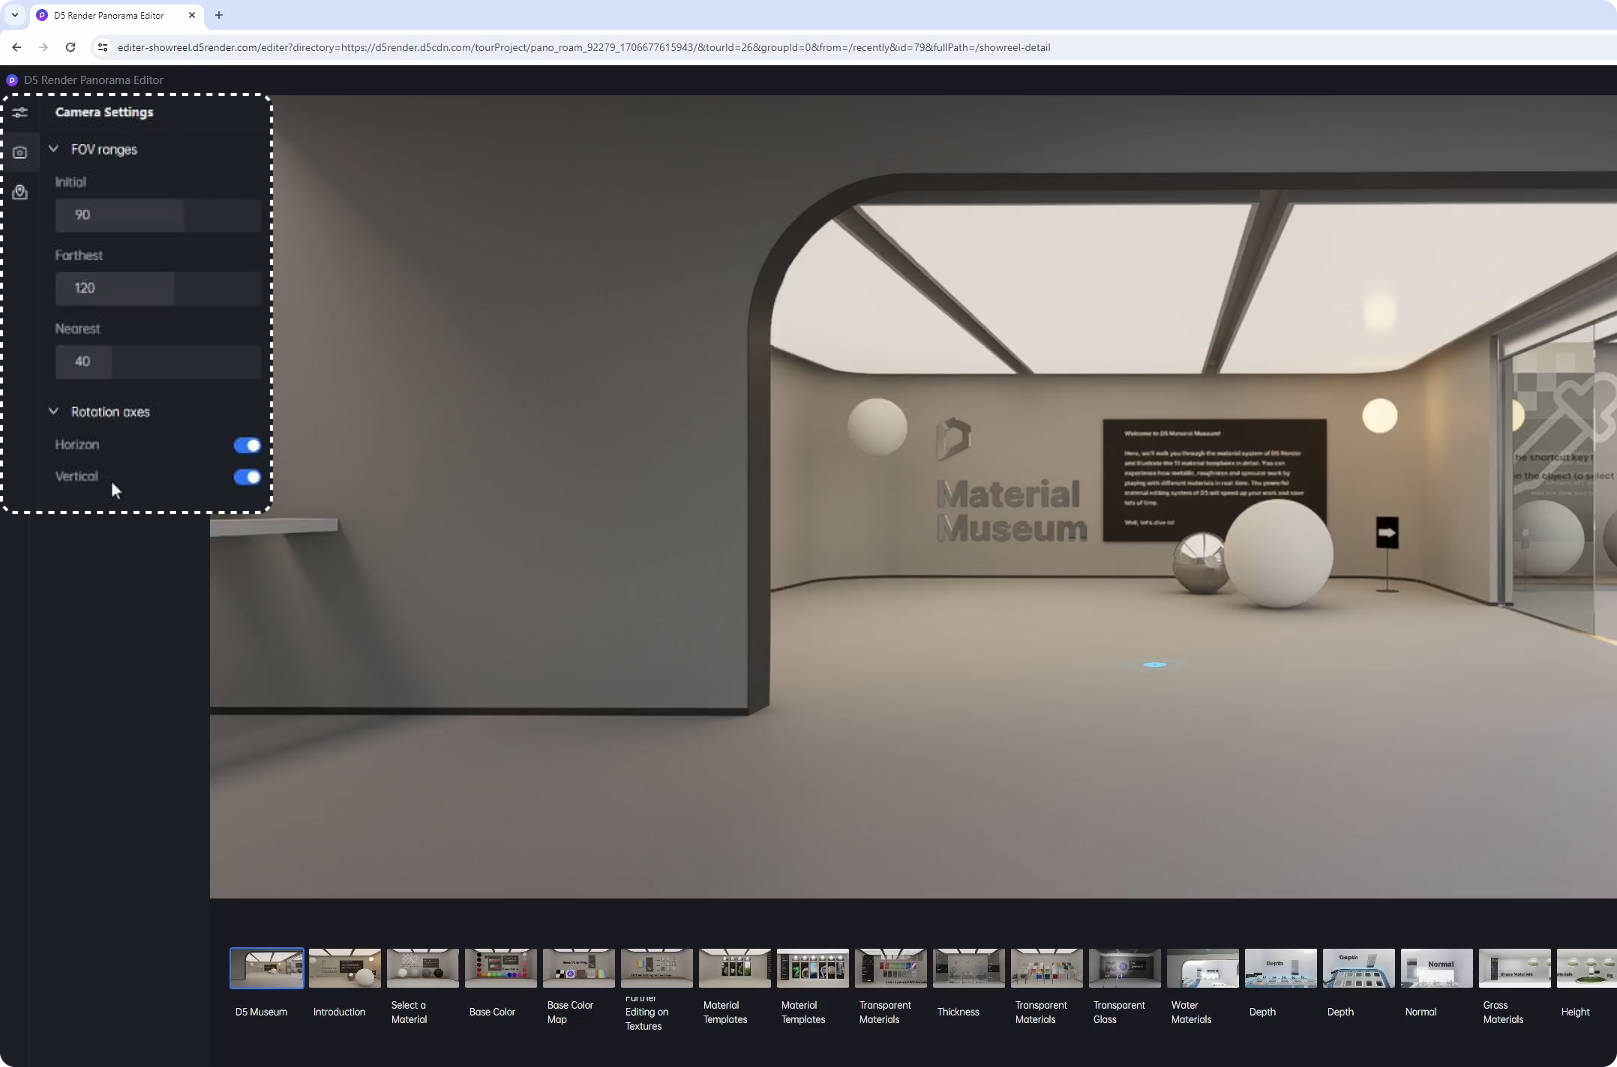
- Hotspot settings enable personalized scene or media hotspots.
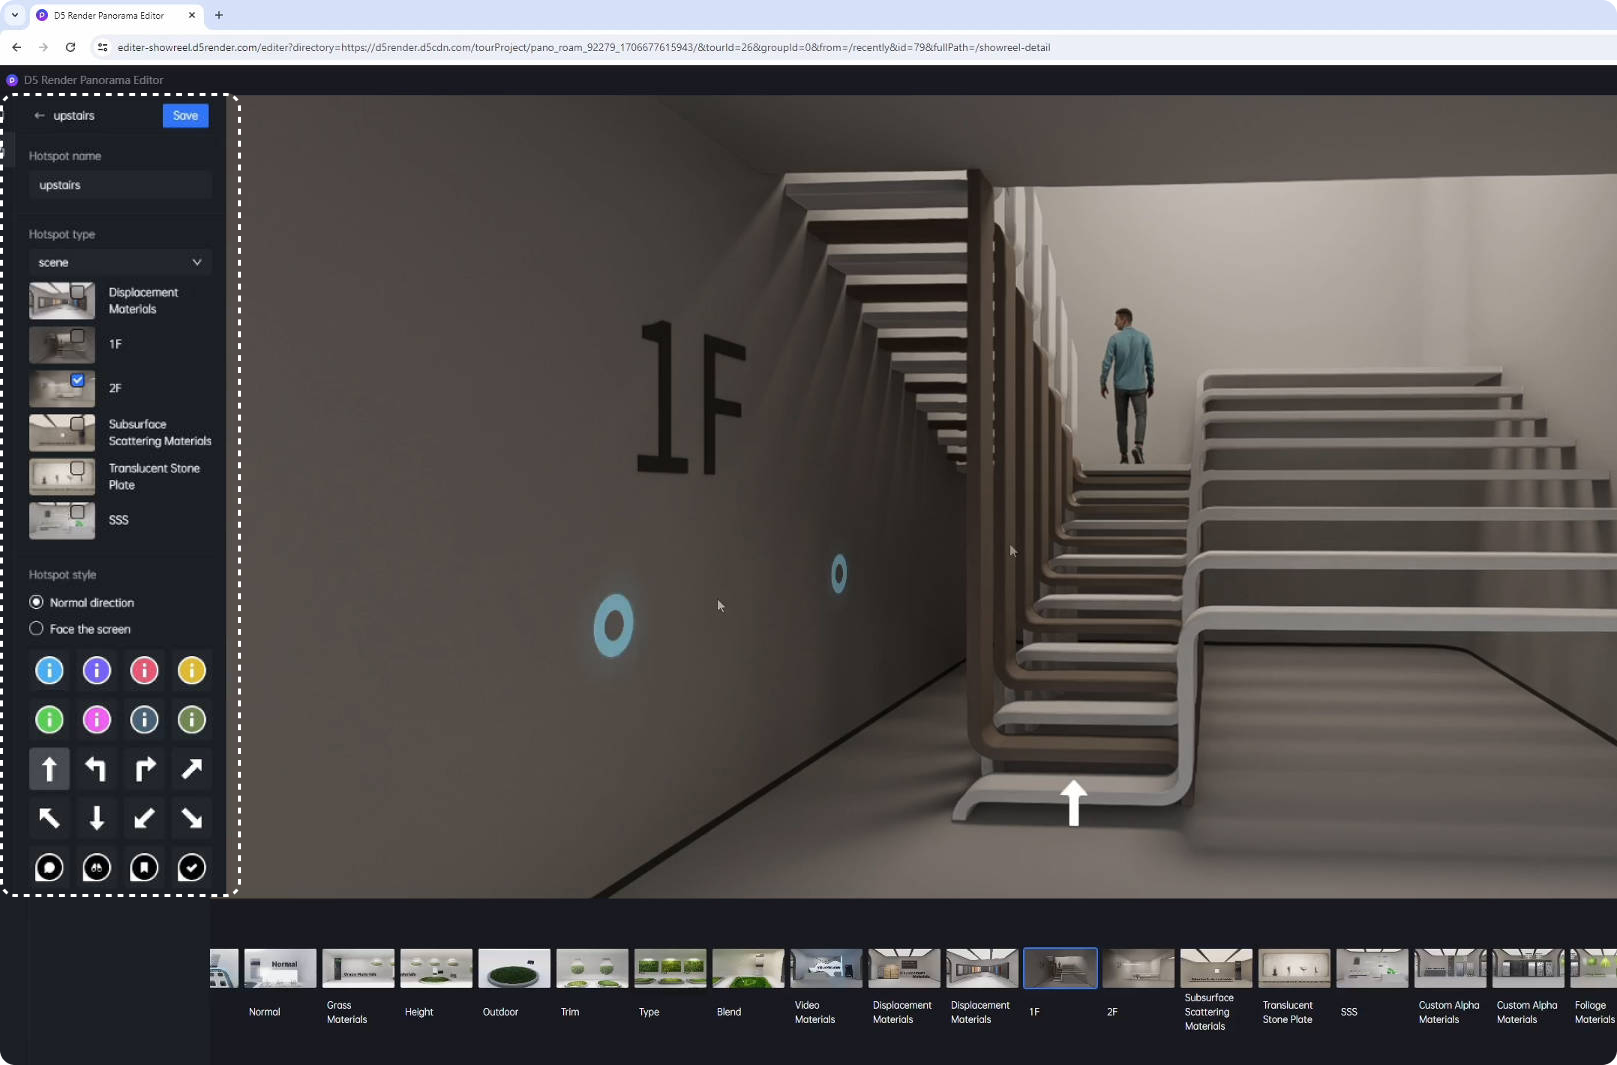
Scene hotspots offer viewers quick jumps to specific viewpoints by linking a spot to a certain viewpoint, while media hotspots provide extra info by text, images, videos, and links, enriching the overall interactive experience.
Share via .exe files
Rendered virtual tours can be converted into standalone exe files for secure and offline viewing. Both Mac and Windows compatible exe files can be created.
Once unzipped and launched with the accompanying Resource folder, the exe file will offer a local panorama experience.
Note: The exe file doesn't support panorama editor.
That wraps up our instructions for the virtual tour feature. Should you require an in-depth walkthrough, please watch the video that follows. Remember to activate D5 for Teams and try this feature.
Discover Every Detail with Dollhouse Integration
D5 Render takes virtual tours to the next level by being the first renderer to introduce the Dollhouse view. This groundbreaking feature offers clients a unique, miniature 3D model of your entire design. With a simple click, you can effortlessly switch from the regular virtual tour to the Dollhouse view, transforming the 2D layout into an interactive 3D model. This transition offers clients a complete, top-down perspective of the entire space, helping them better understand the layout and flow of your design. This added dimension transforms how you present designs, making it easier for clients to explore and appreciate every detail.

See the Dollhouse view in action by exploring this reel yourself: https://share.d5render.com/team-api/shortLink/207
Conclusion
D5 Render’s virtual tour and Dollhouse features provide a comprehensive toolkit for architects, designers, and digital artists, making it easier than ever to create, share, and interact with 3D designs. Activate D5 for Teams to start exploring these powerful tools and elevate your design presentations to the next level.


