How to render a snow scene in D5 Render
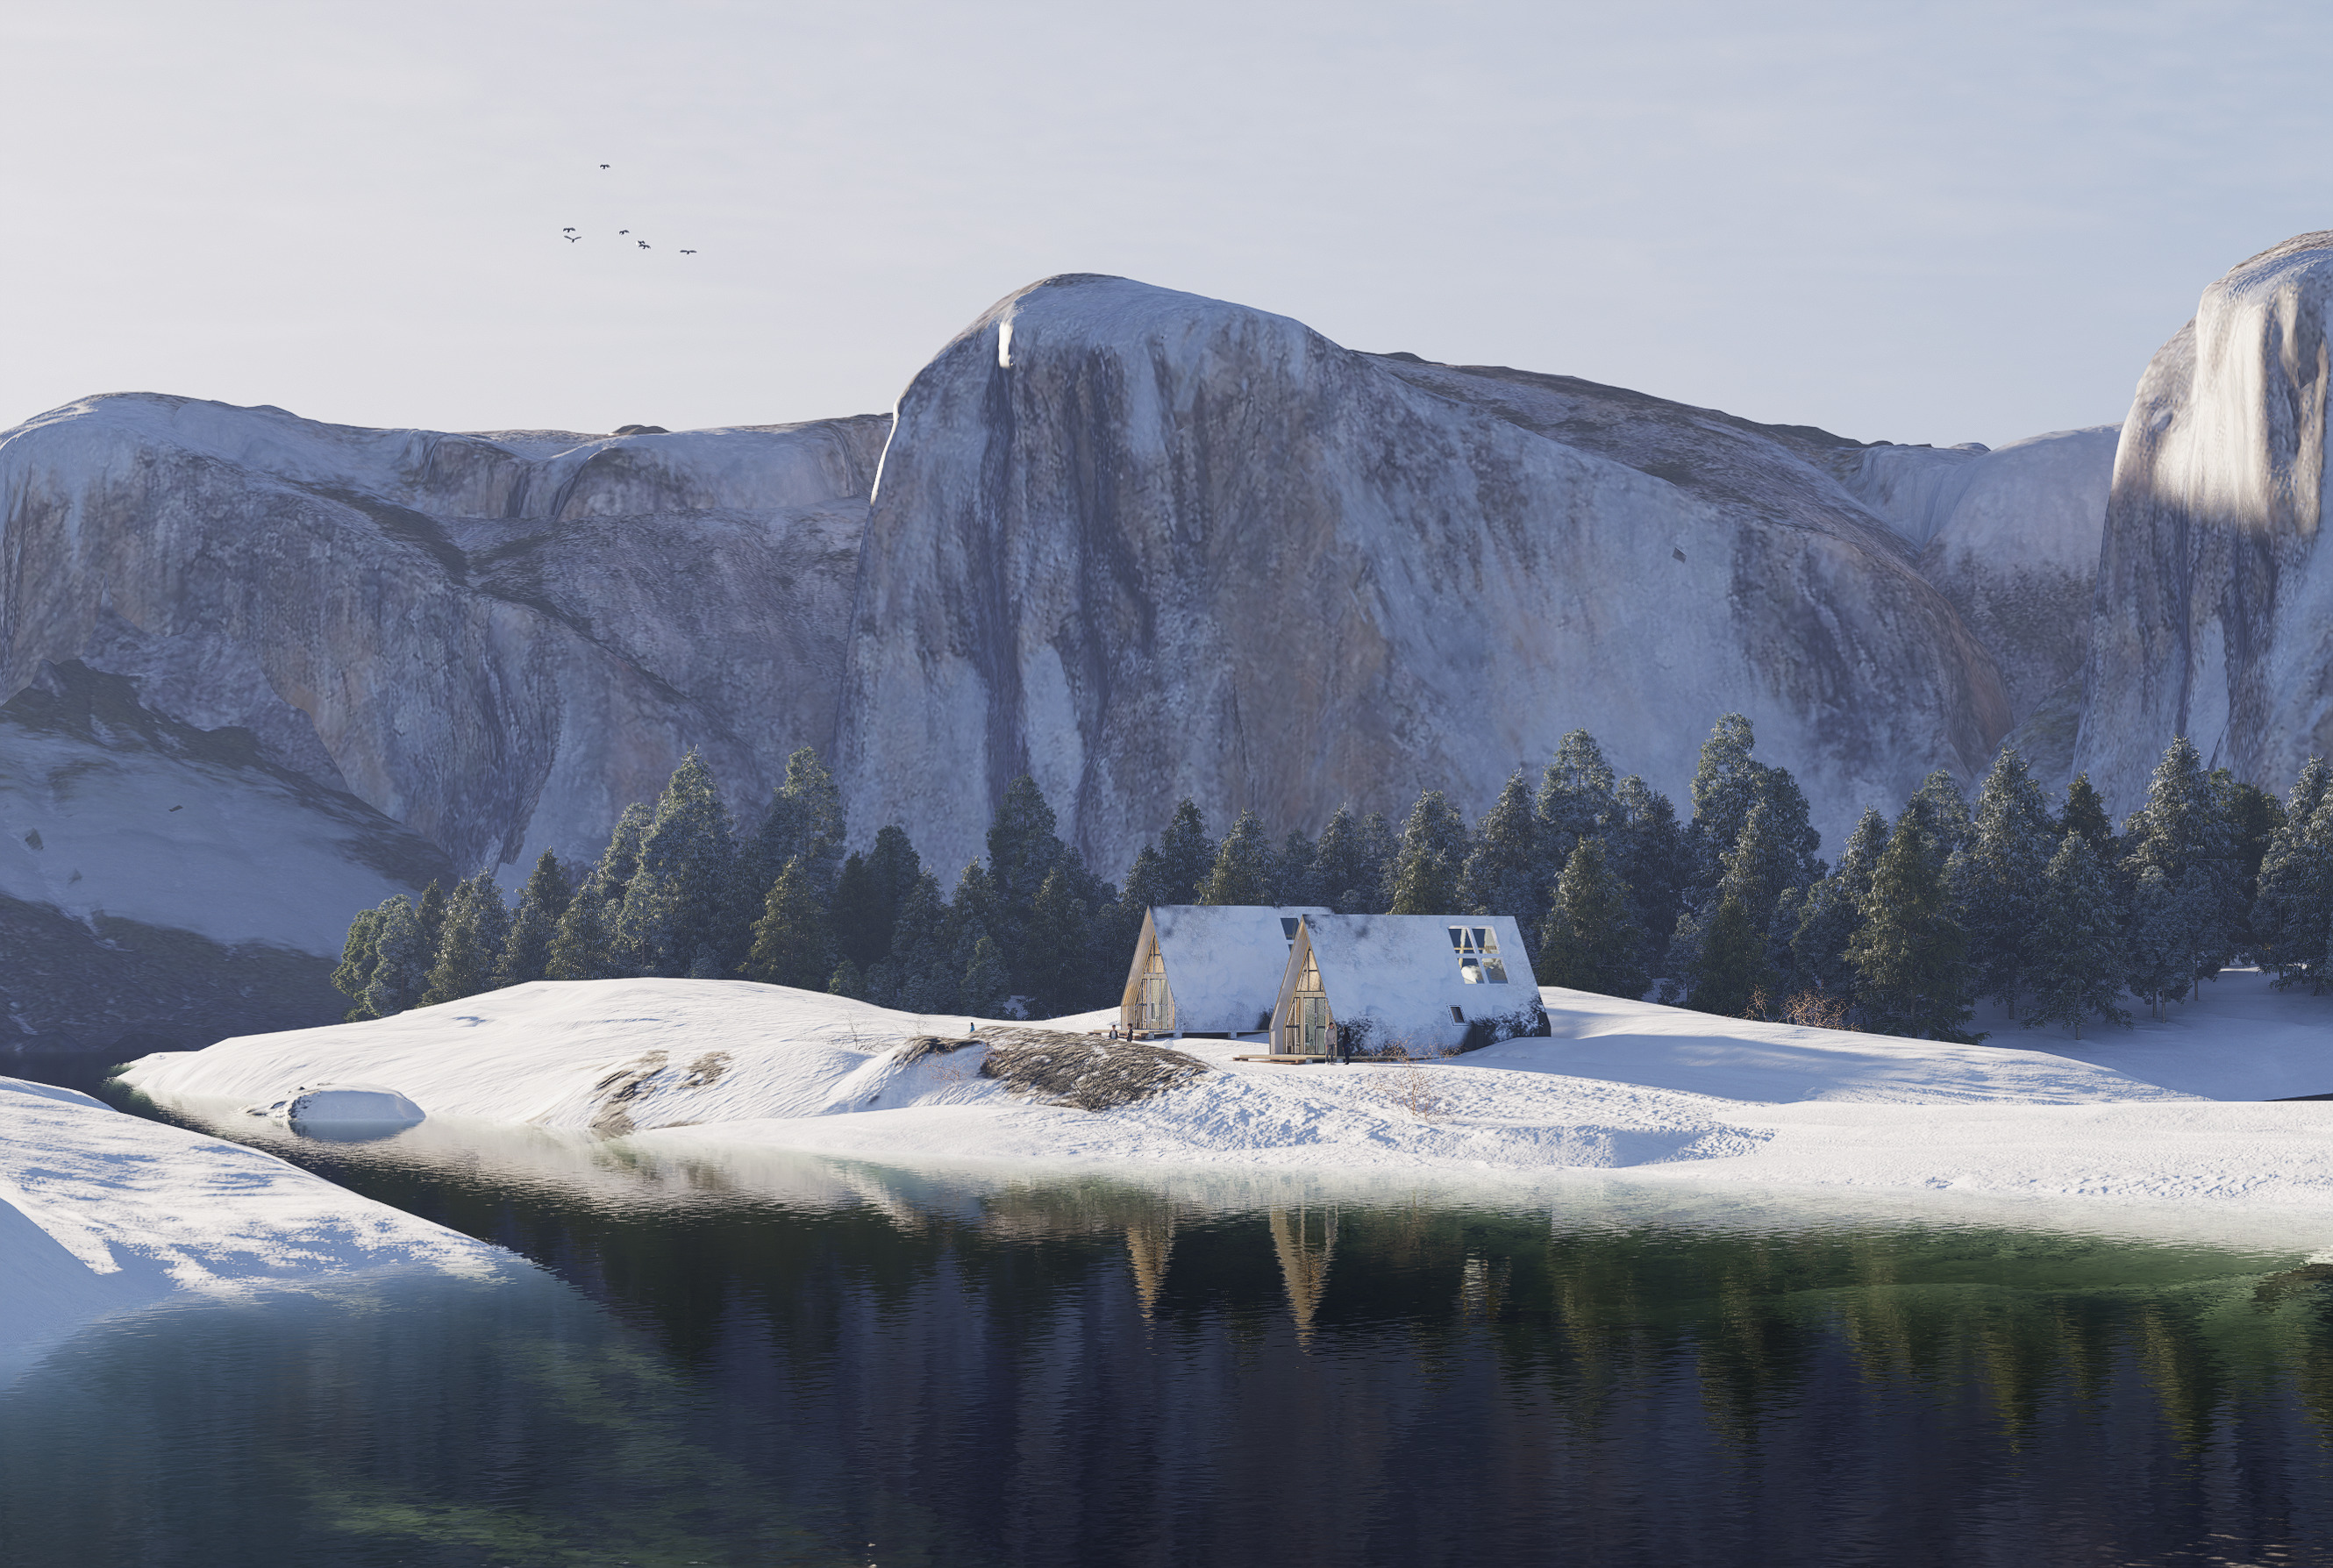
In landscape design, snowscapes often bring special romance, as it can invoke many nice elements in people’s mind, like purity and holiday. But building a realistic snowscape is not that romantic, because it posts challenges for both the designer and the rendering software. Today, we shall share with you some tricks on making a good snowscape with D5 Render.

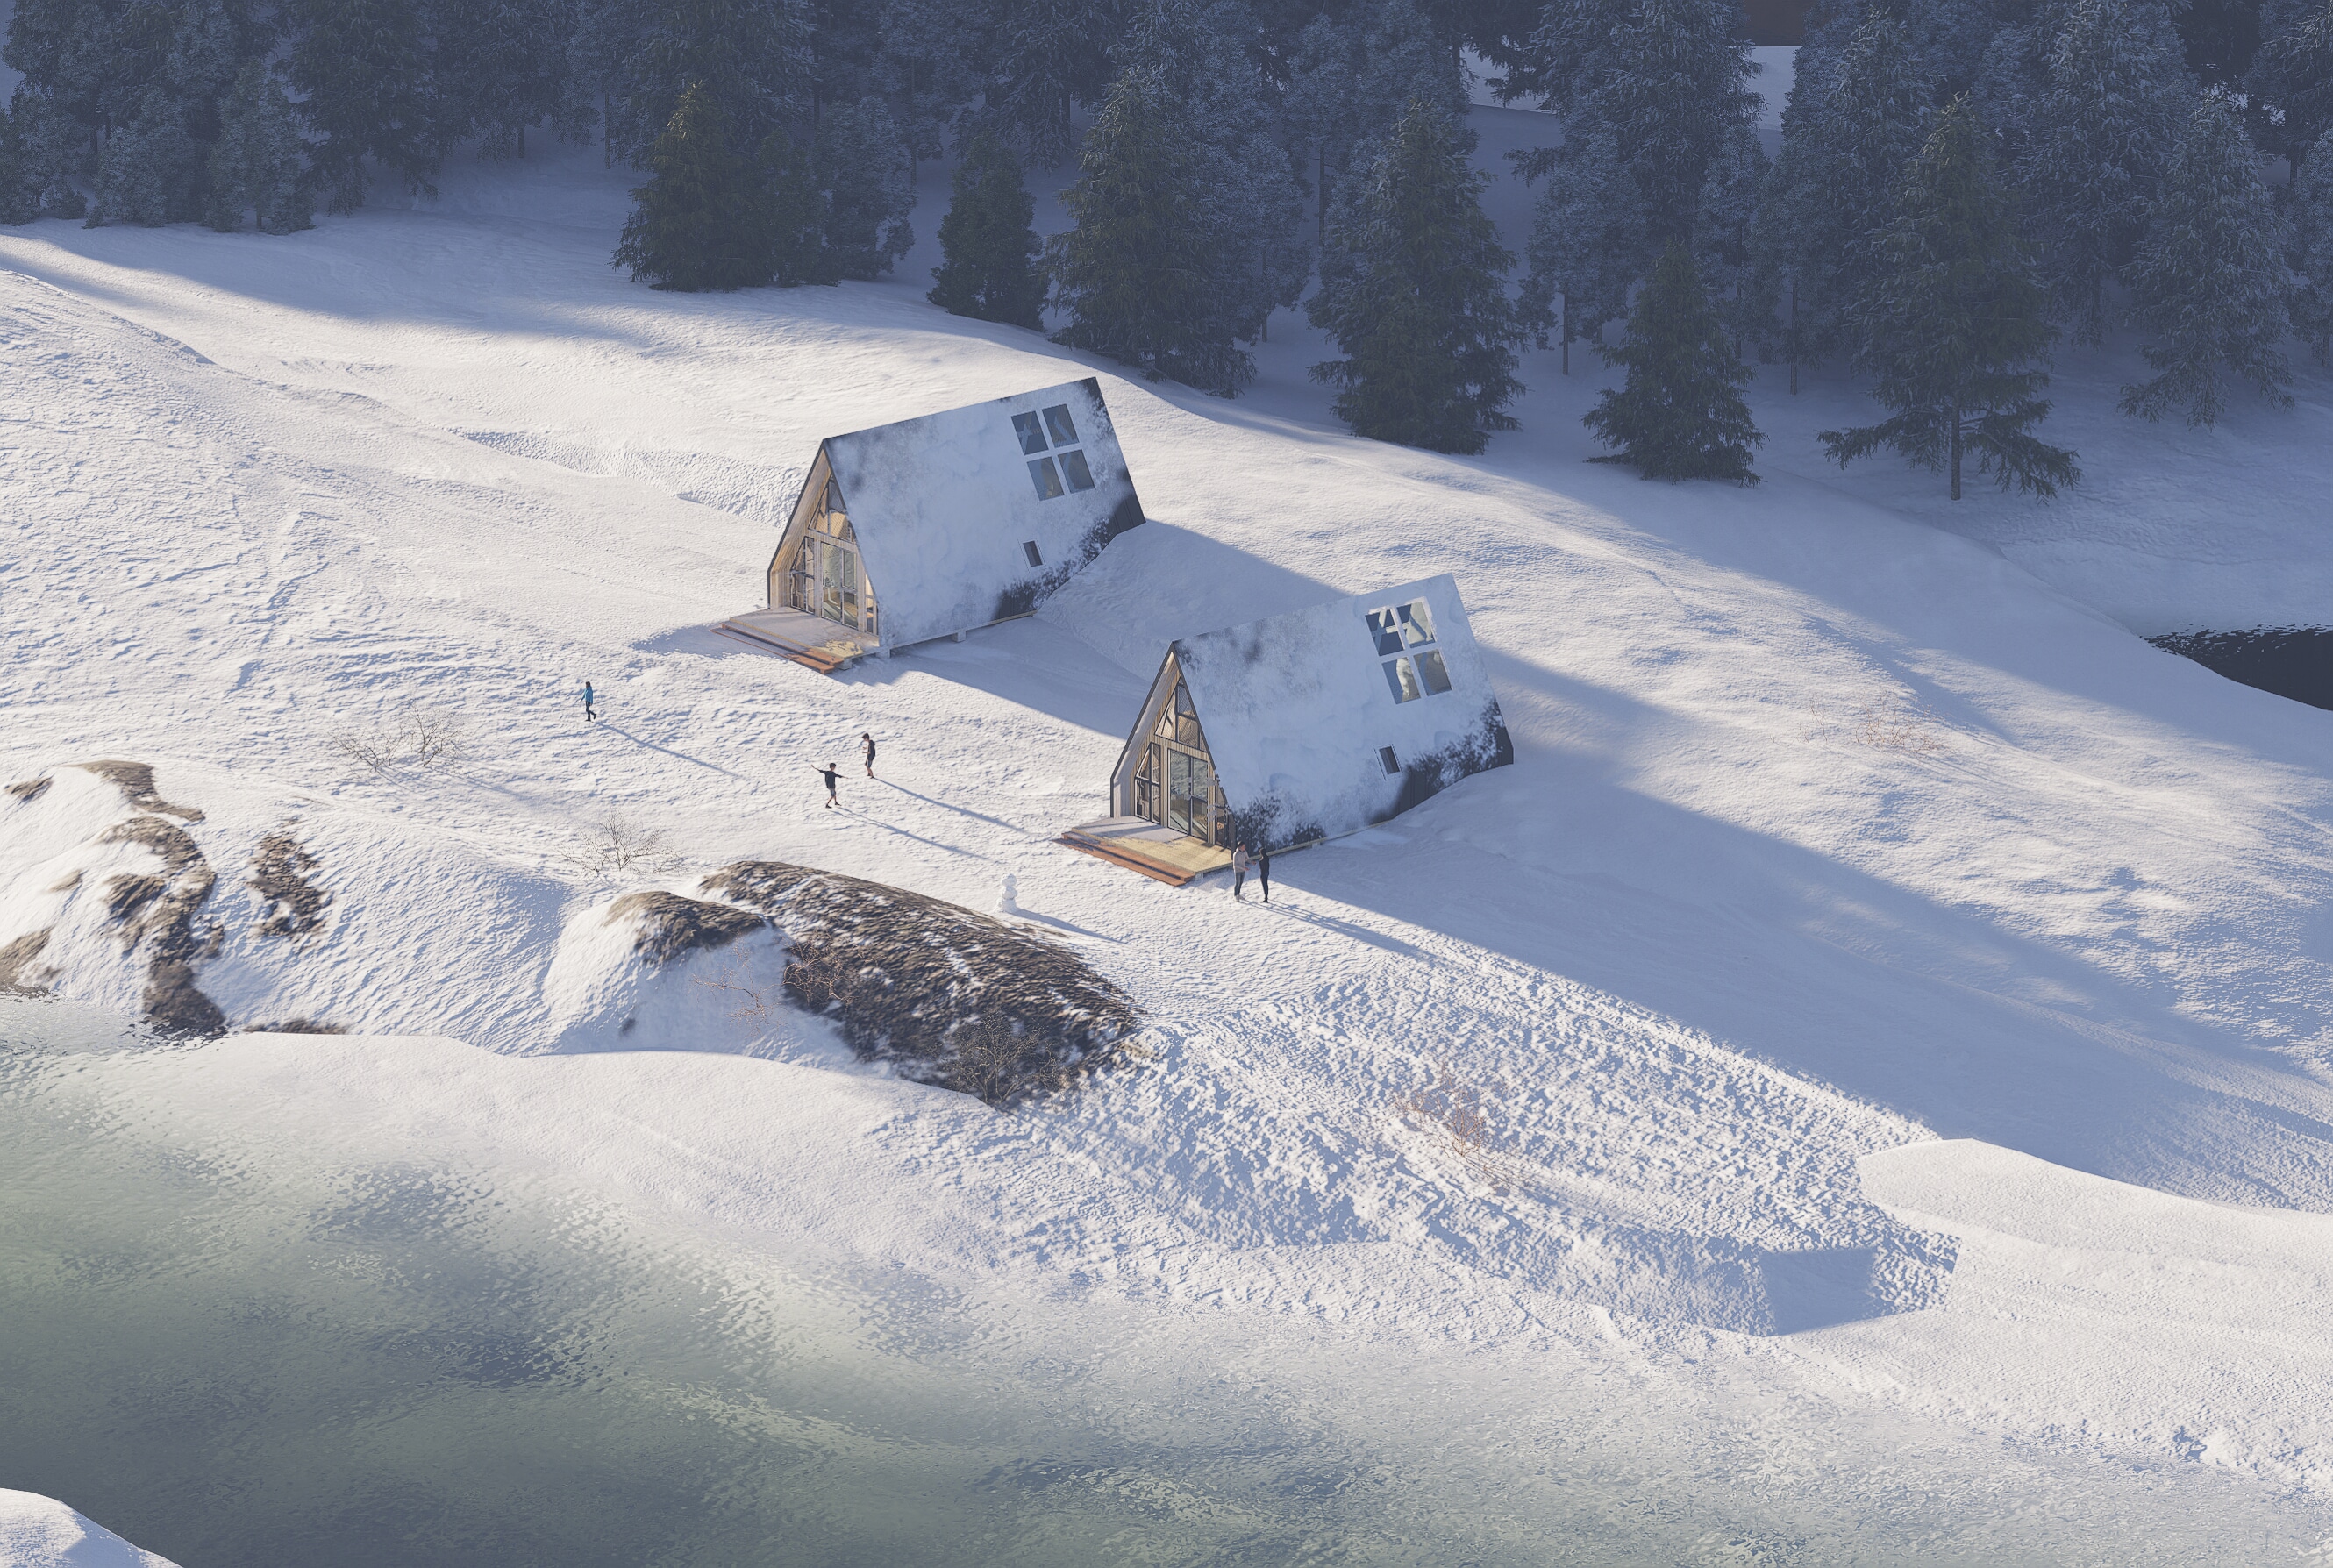
This model of snow ground, imported from Bridge, already has many details on its surface. You can see it has a natural contrast between light and shadow as well. To not break its original beauty, we have to think twice before adding other decorative assets, snow-covered trees or cabins for example, to match with the snowscape.
Many would directly switch on "Snow" effect in the Environment system after importing cabins or trees. Yet this is not an ideal solution as it would cover the original details of our delicate snow ground model. And the roof of cabin has a very humble snow effect in this way.
Besides, this method will make snow settle evenly on the surface of trees and mountains, which is impossible in the real world due to the influence of gravity, wind, sunlight and many other factors.
So the real answer is to use the snow decals in D5 Asset Library instead. They are like stickers that can be attached to a model's surface.

Drag and drop the two free snow decals onto the cabin's roof. Adjust their size and position as you need. Repeat this on the trees and mountains, which will make them have a look that snow on the adret side has melted.
Everything is done! Now the snowscape looks natural and exquisite.

Thanks to Light Architecture who shares with us this tip and beautiful snowscape scene file.
To learn more about decals in D5 Asset Library, you can read this article:
How to create a detailed rendering with decals in D5 Render.


