Outstanding Water Textures Taking Your Renderings up a Notch
Whether in archviz or landscape design industry, the use of water is always the finishing touch to make your scene more atmospheric. Many will go to post-processing tools like Photoshop to achieve a satisfactory look of water. Yet the effort could be spared with D5 Render, as we have a user-oriented texture editing system with both a water template on whose basis users can create whichever kind of water they want, or out-of-the-box water material assets in D5 built-in Asset Library.
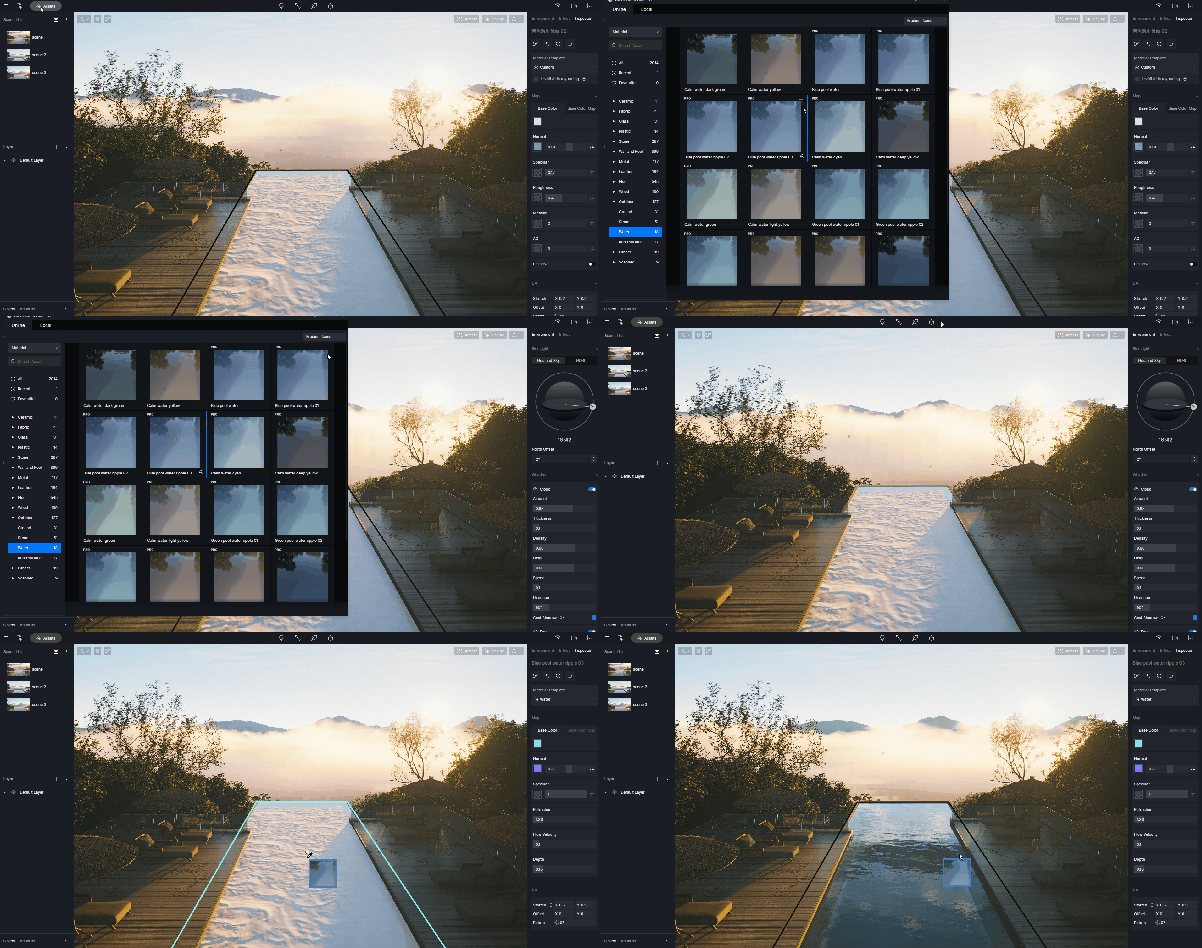
Water Materials in D5 Asset Library
Note that the Water template can only be used on a single-sided model. It's also necessary to place a plane underneath the water surface when the pond is not very deep, such as a bathtub or a swimming pool.
How to set the parameters of water texture properly
- With Base Color, you can change the hue, saturation and brightness of the water texture.
- The Normal map decides the appearance of ripples or waves. You can change how strong the wave is by adjusting its intensity and how dense it is by adjusting UV. These parameters play a key role in affecting whether the water texture looks realistic or not.
- Specular controls the reflectance of the material surface. When it's set as 1, the material, a gem for example, will have a very strong reflection. When set as 0, there will be no specular reflection but only diffuse. In this case, the water will look very dark. We recommend 0.25 for water texture based on how its specular works in the real world.
- Similar with Specular, Refraction should also be adjusted to create the effect as close to reality as possible. The preset value 1.33 is ideal for most of the water textures.
- Flow Velocity controls the rate of the flowing animation of water. It will not work when Normal value is set at 0.
- Depth controls the water texture's ability to absorb incident light. The higher the parameter, the murkier the water will be.
How to render a swimming pool with clear water
After changing the material template to "Water", you will find that the water texture seems out of tune with the soothing morning vibe we want to create, thus needing further adjustments.
Step1: Adjust the overall look of water waves

After importing a proper Normal map, you will see that the present water texture still looks rough and bright, more like sea. That's because you need to turn down the Normal intensity and Specular a bit. Now the waves become gentler and milder.
Step 2: Further improvements on the details of water texture
As we have mentioned above, 1.33 is an ideal value for water refraction as it tends to give results close to the real world. So there's no need to change the default Refraction setting.
Now there's only one step left to create realistic water texture for this scene: reducing the flow rate by lowering Flow Velocity.
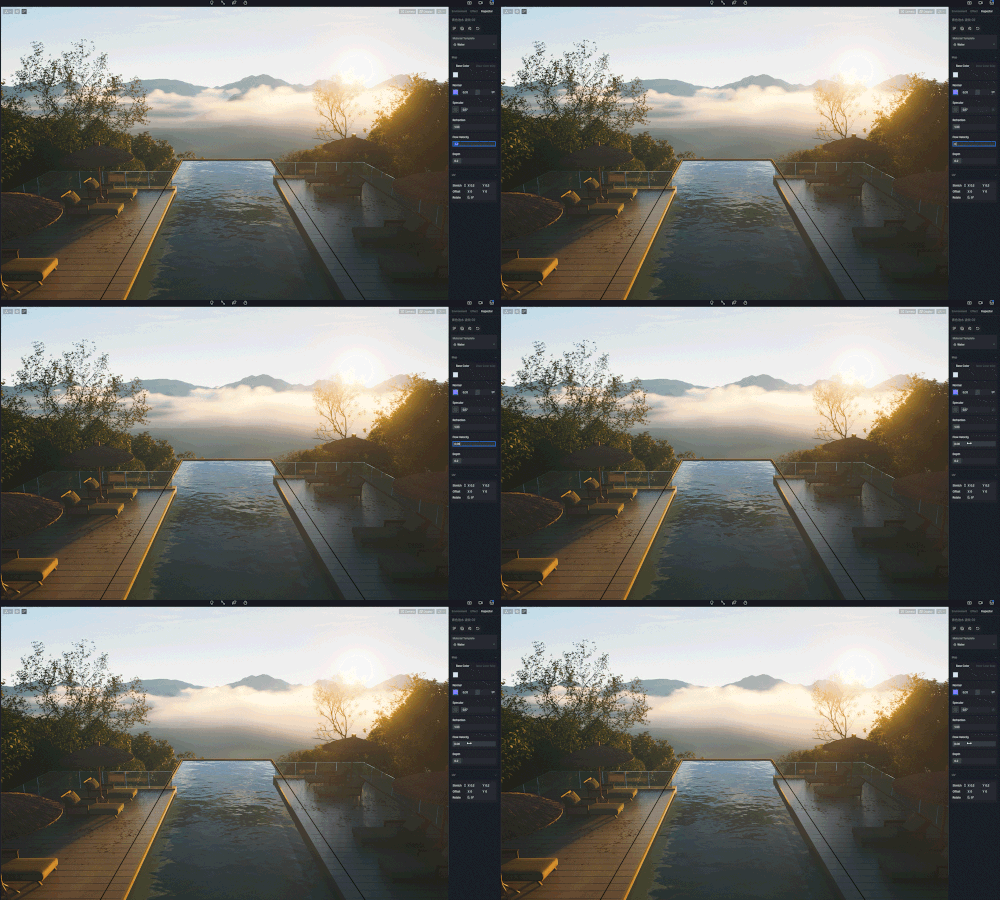
Now it's all set.

Before
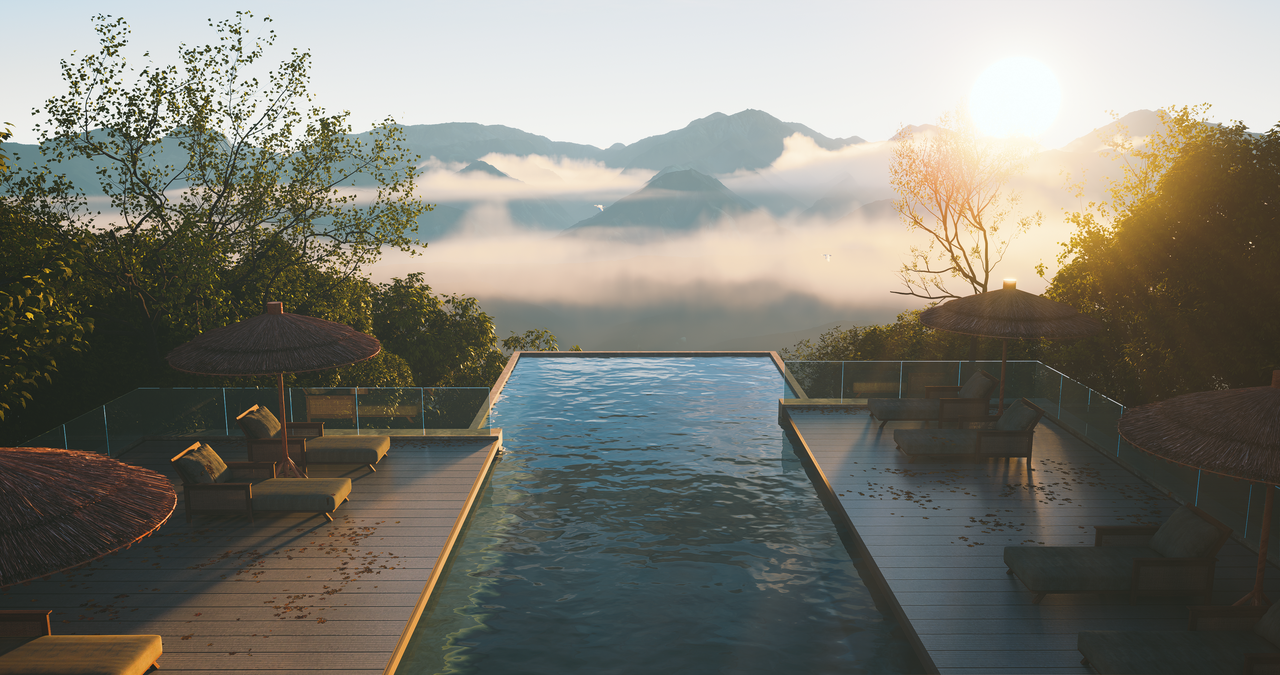
After
How to render a lake with deep water
First thing first, change the material template to "Water".
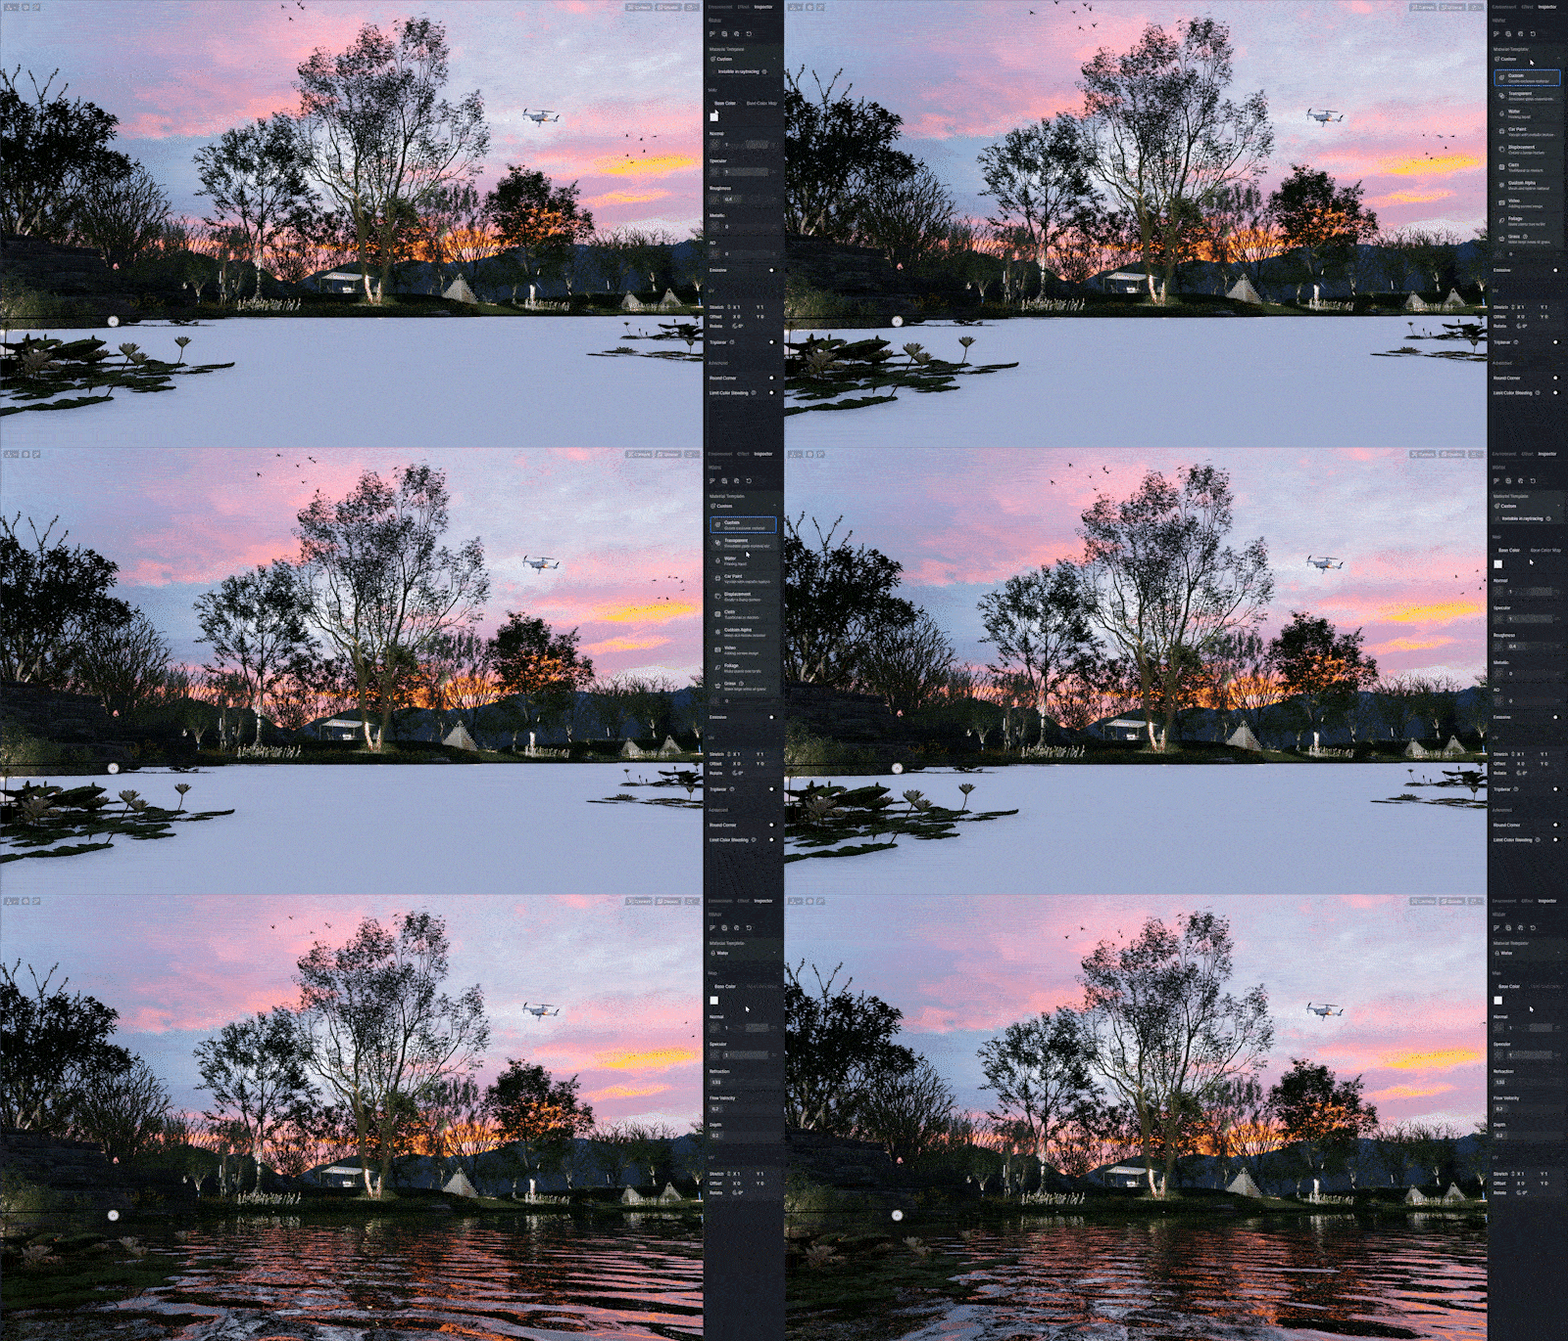
Step 1
Similar to what you have done before, import a Normal map and adjust its intensity as you need.
In this lovely sunset scene, if you want to see a clear reflection of the surroundings on the water surface, try to set specular to maximum.
Step 2
Think about the lake or sea at dusk. It's usually hard to see through the water surface what's underneath. So you need to pull the Depth slider to the right. When the Depth value is low, the lake will look shallow and unnatural.
Now you can see the change of atmosphere before and after the adjustment.

How to adjust water in aerial view renderings
Here is a quite useful yet effortless trick to create lively water in an aerial view like this one:

by kokol
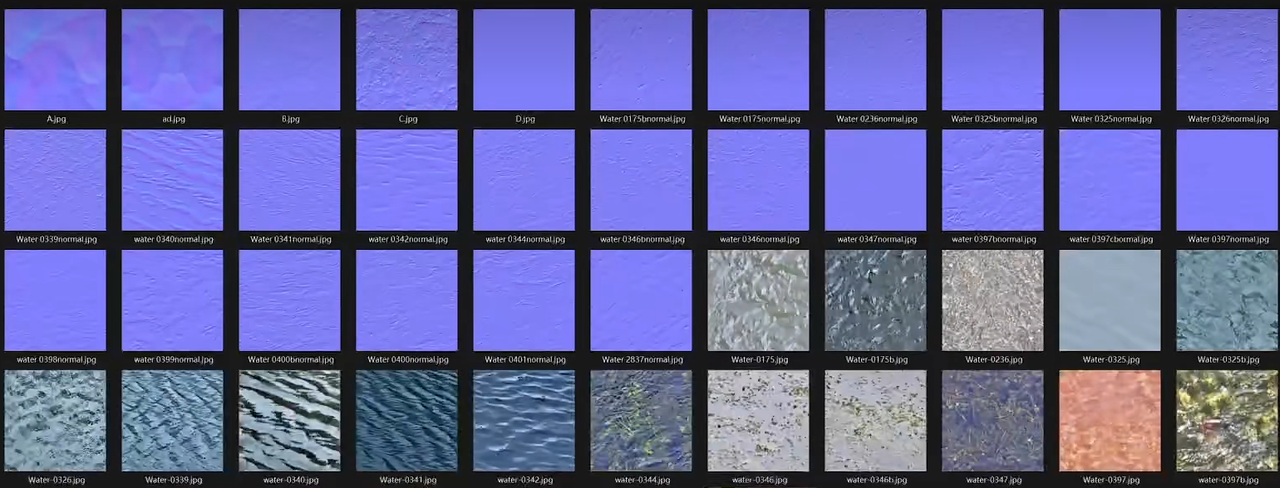
You can just duplicate the model of water and place it underneath the surface. Then attach to it a texture map and adjust the UV. Quick as a flash, the water now looks crystalline and vibrant.
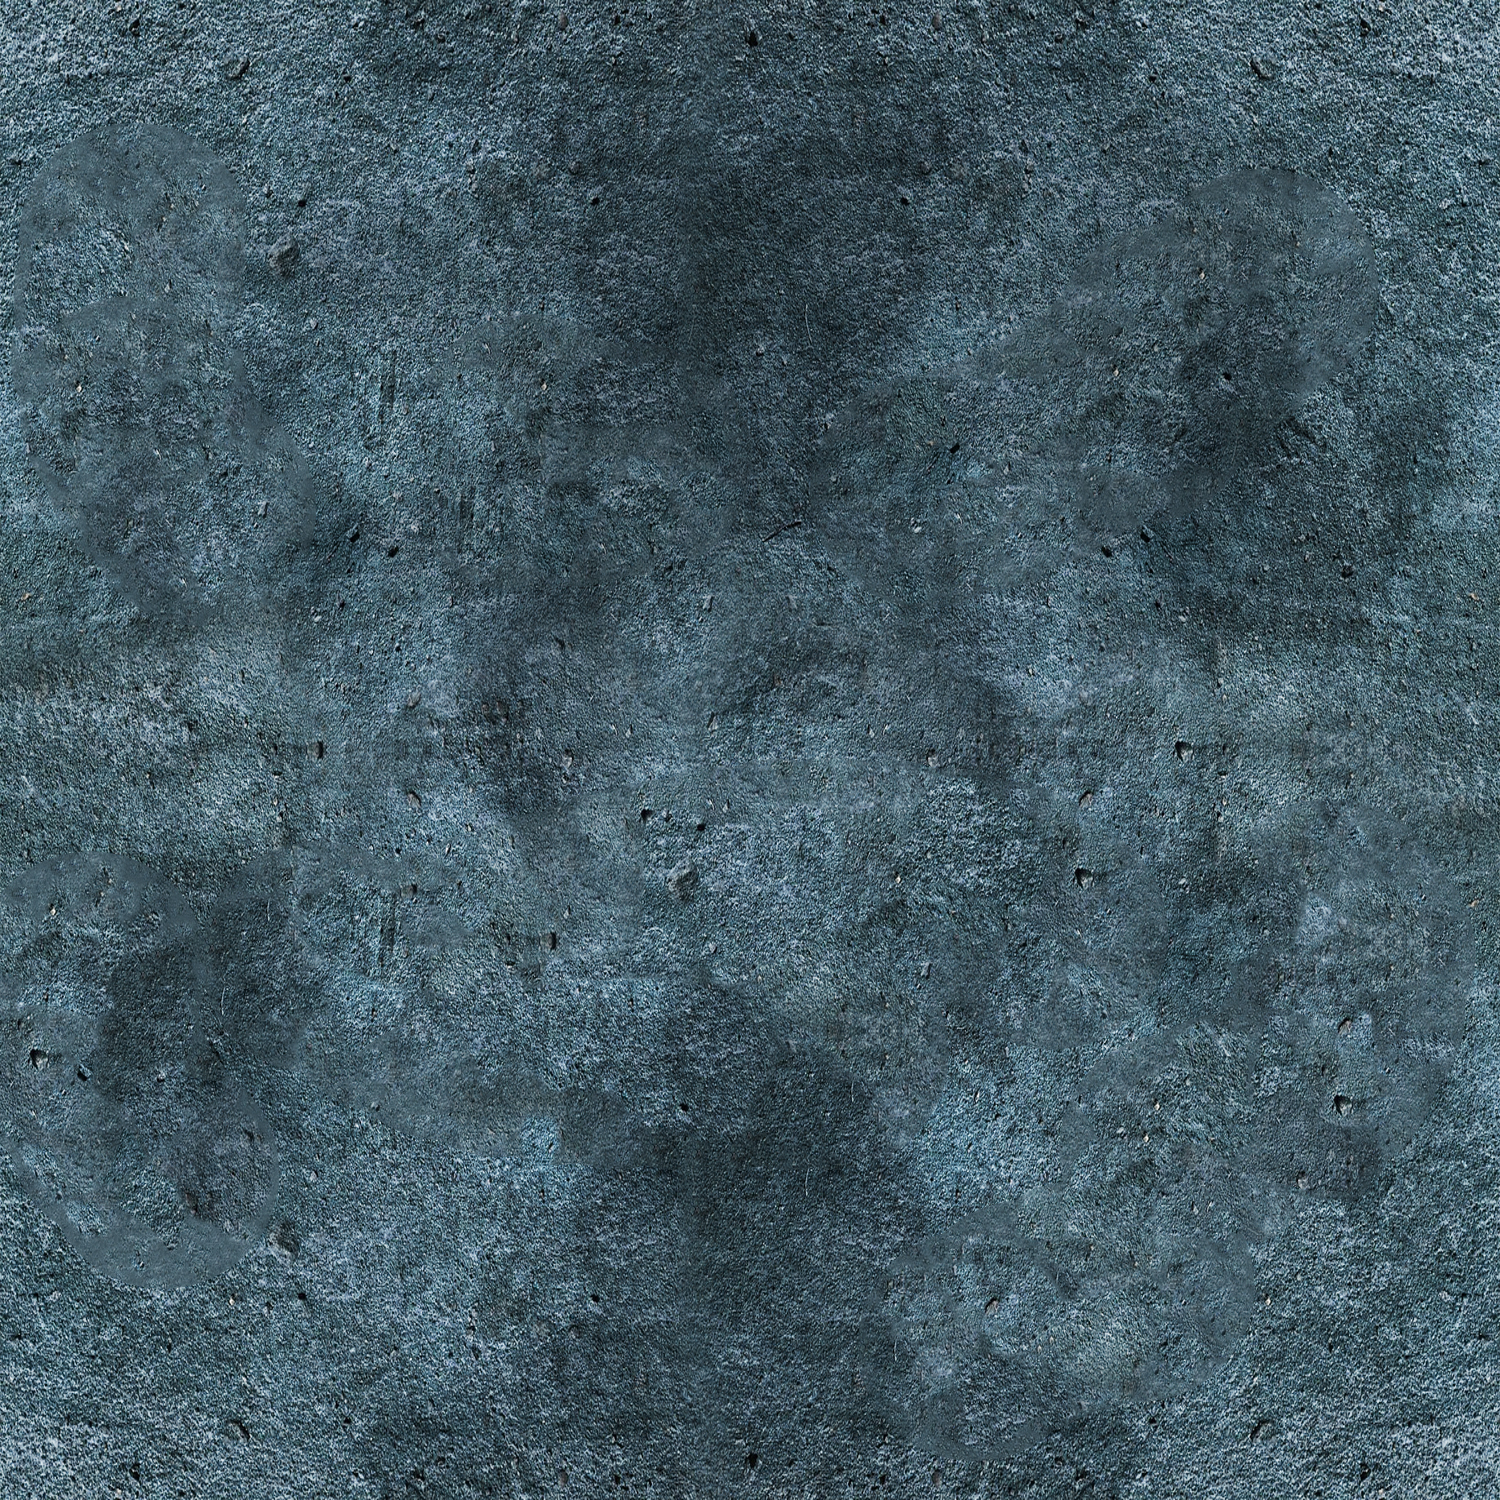
The texture map underneath the water
Showcase
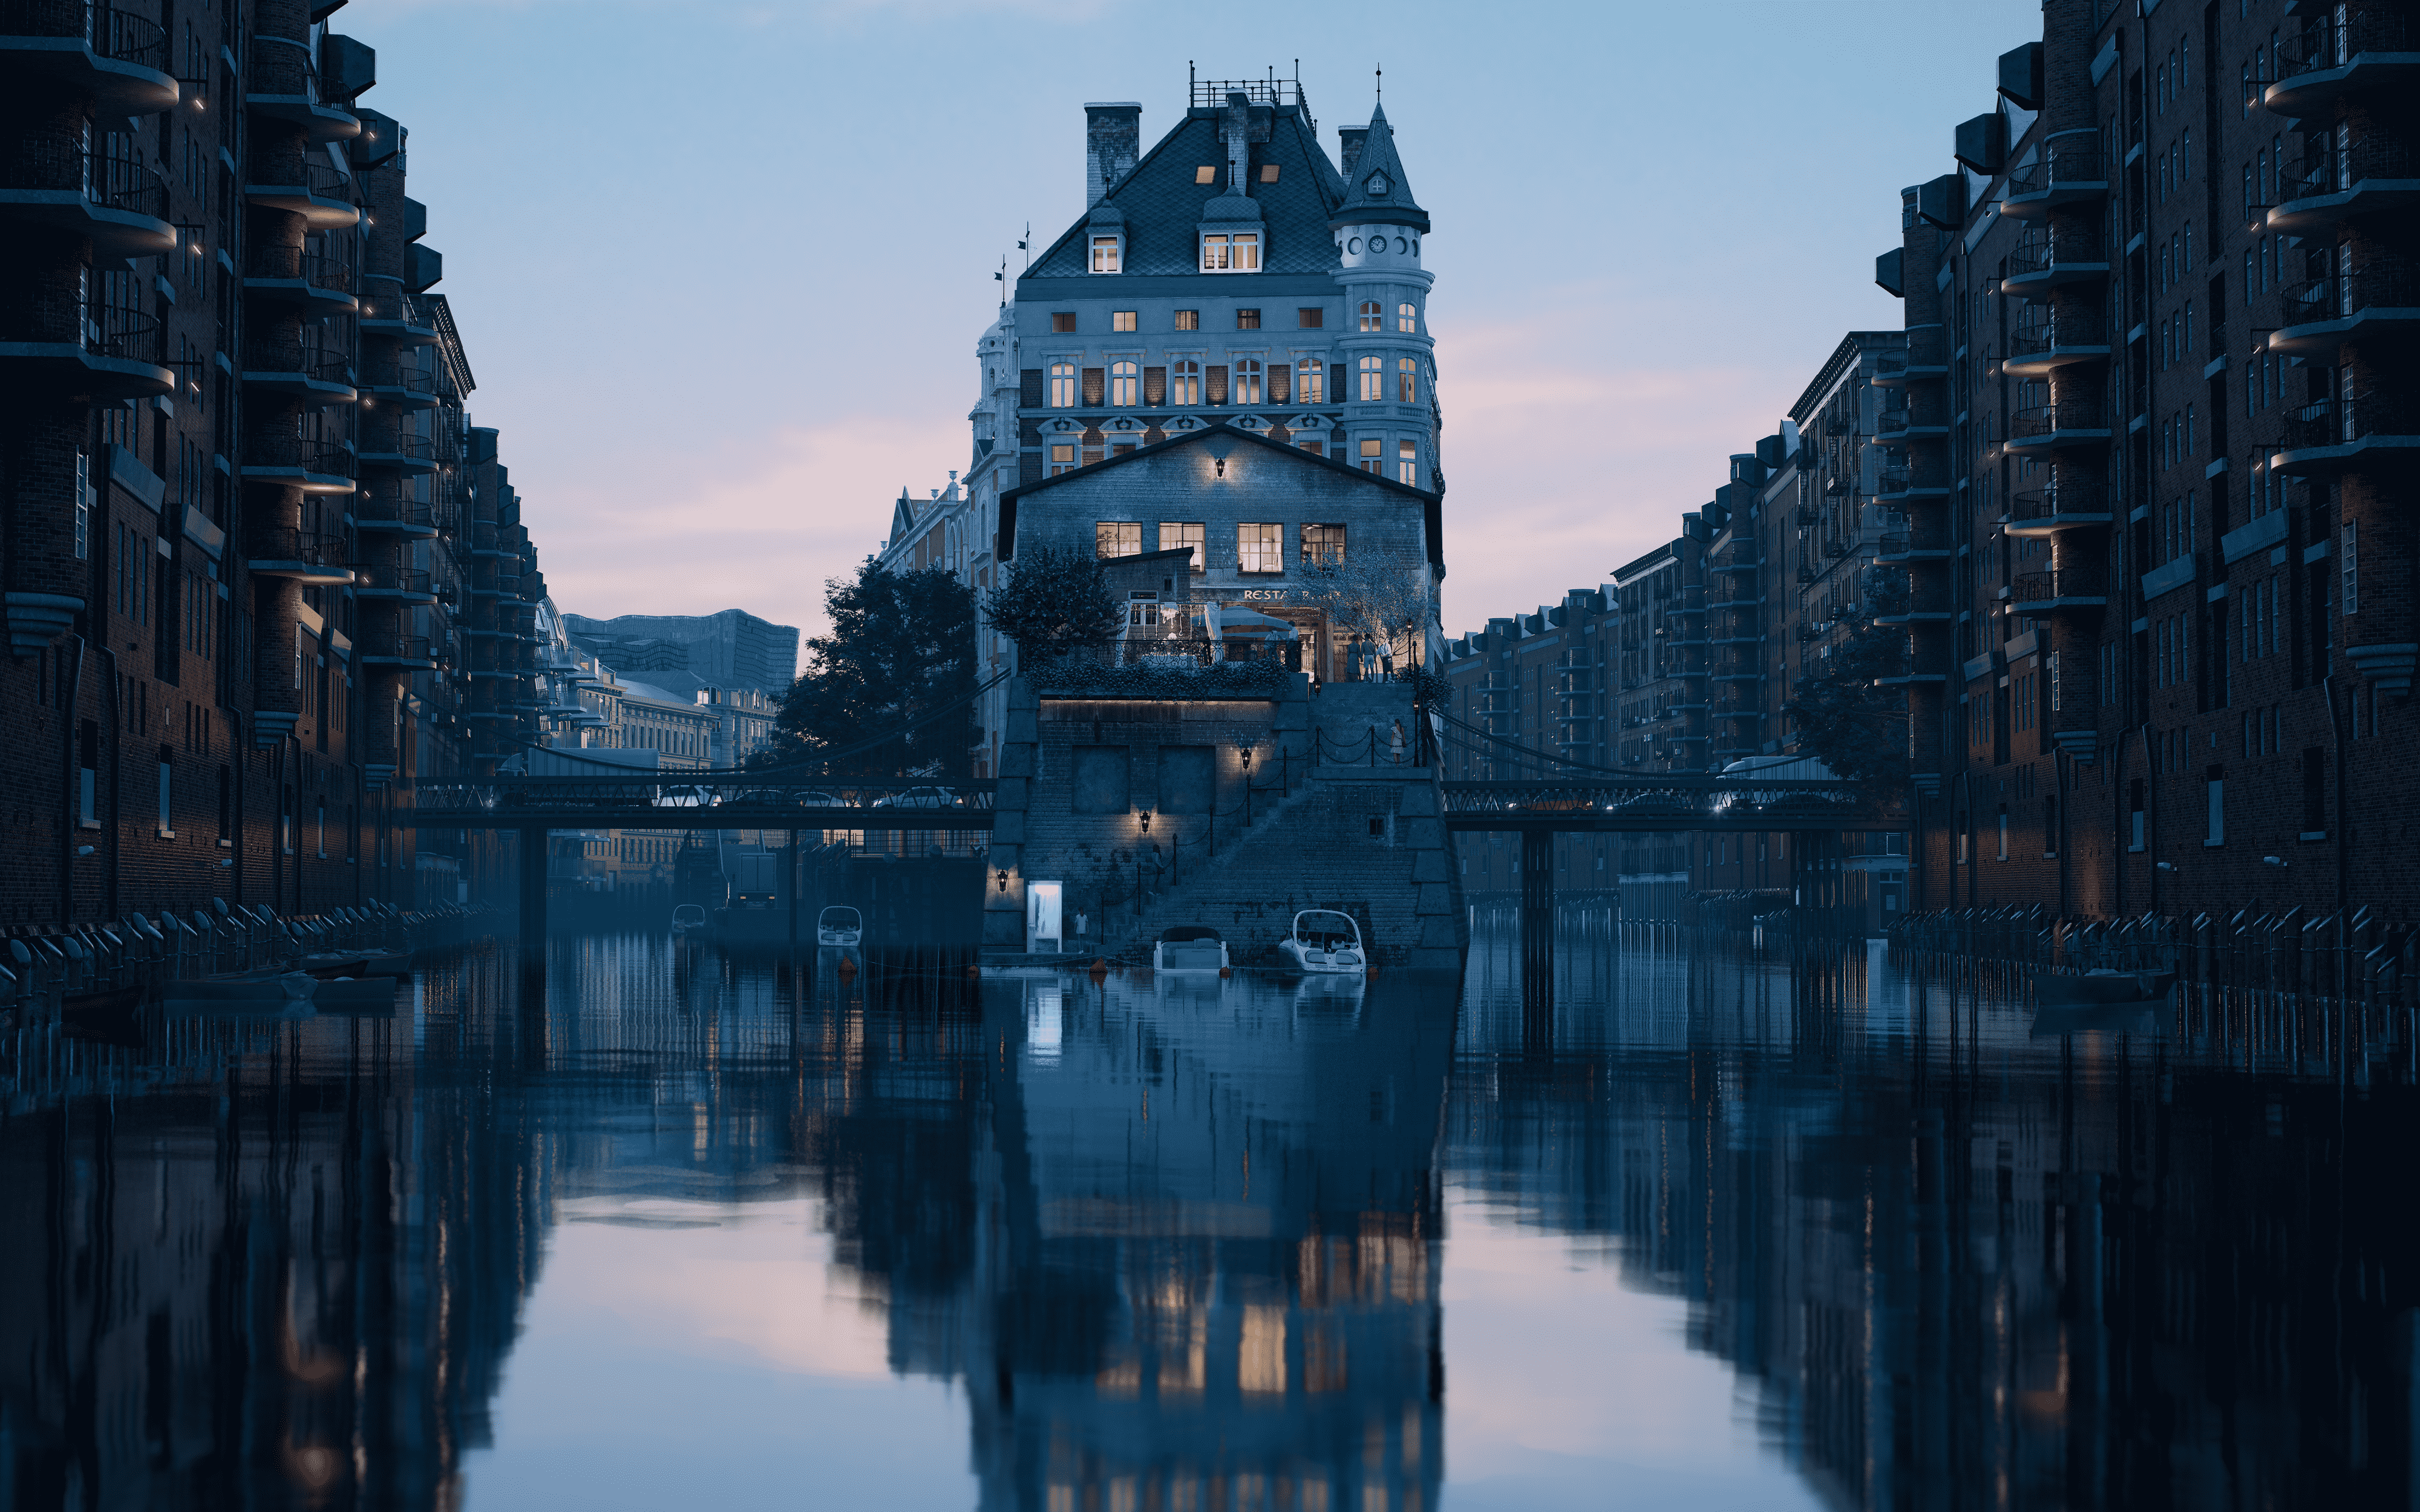
by kokol
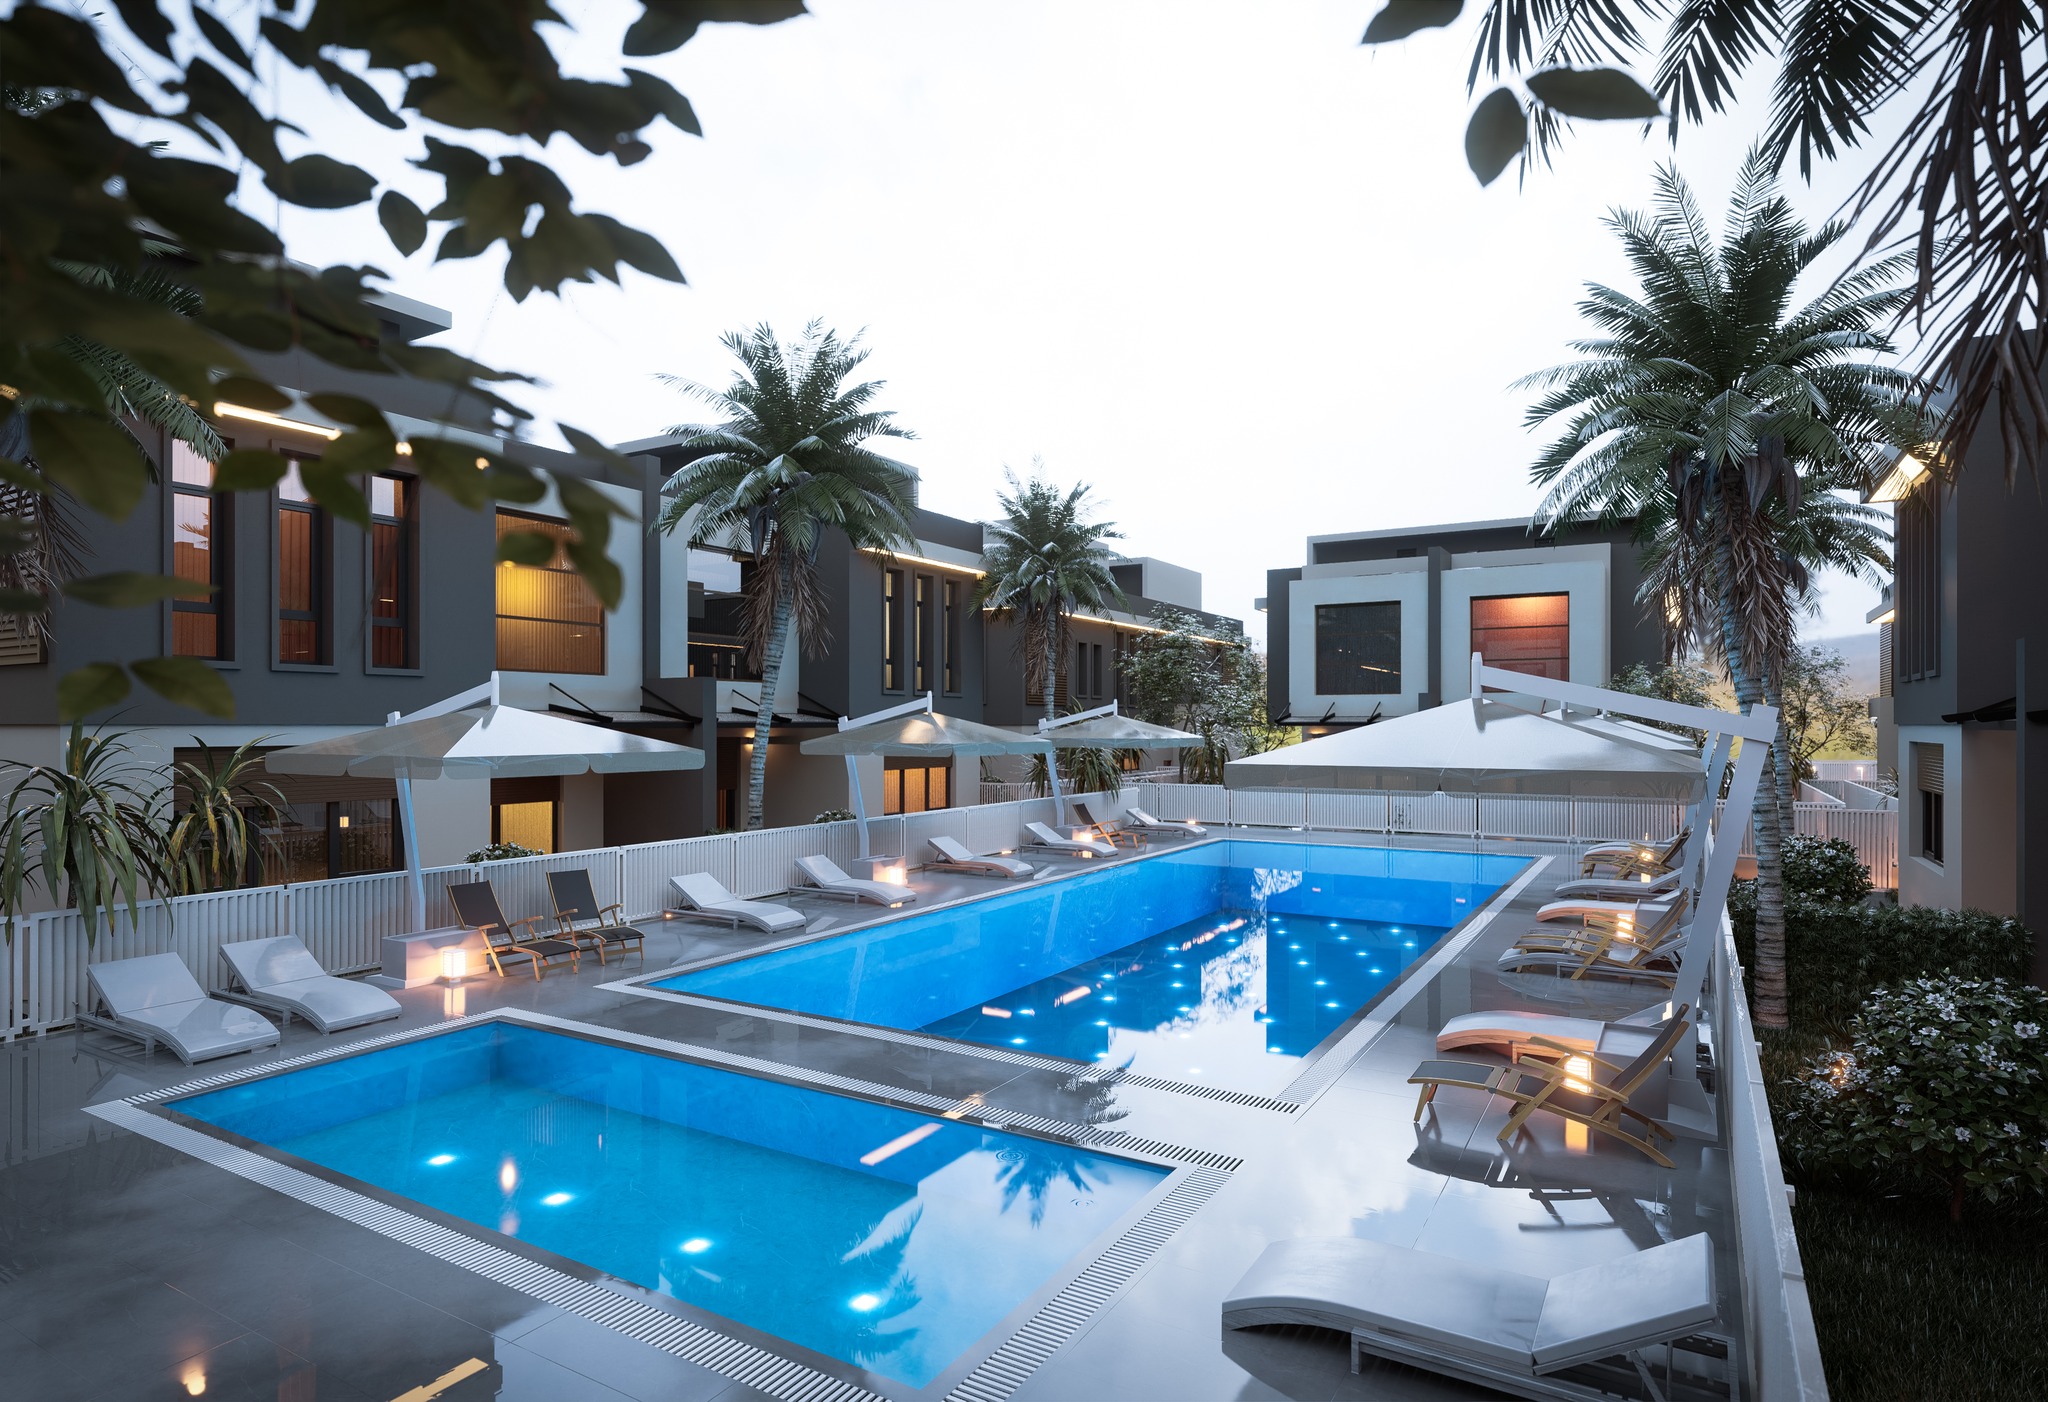
by Ali Ceylan
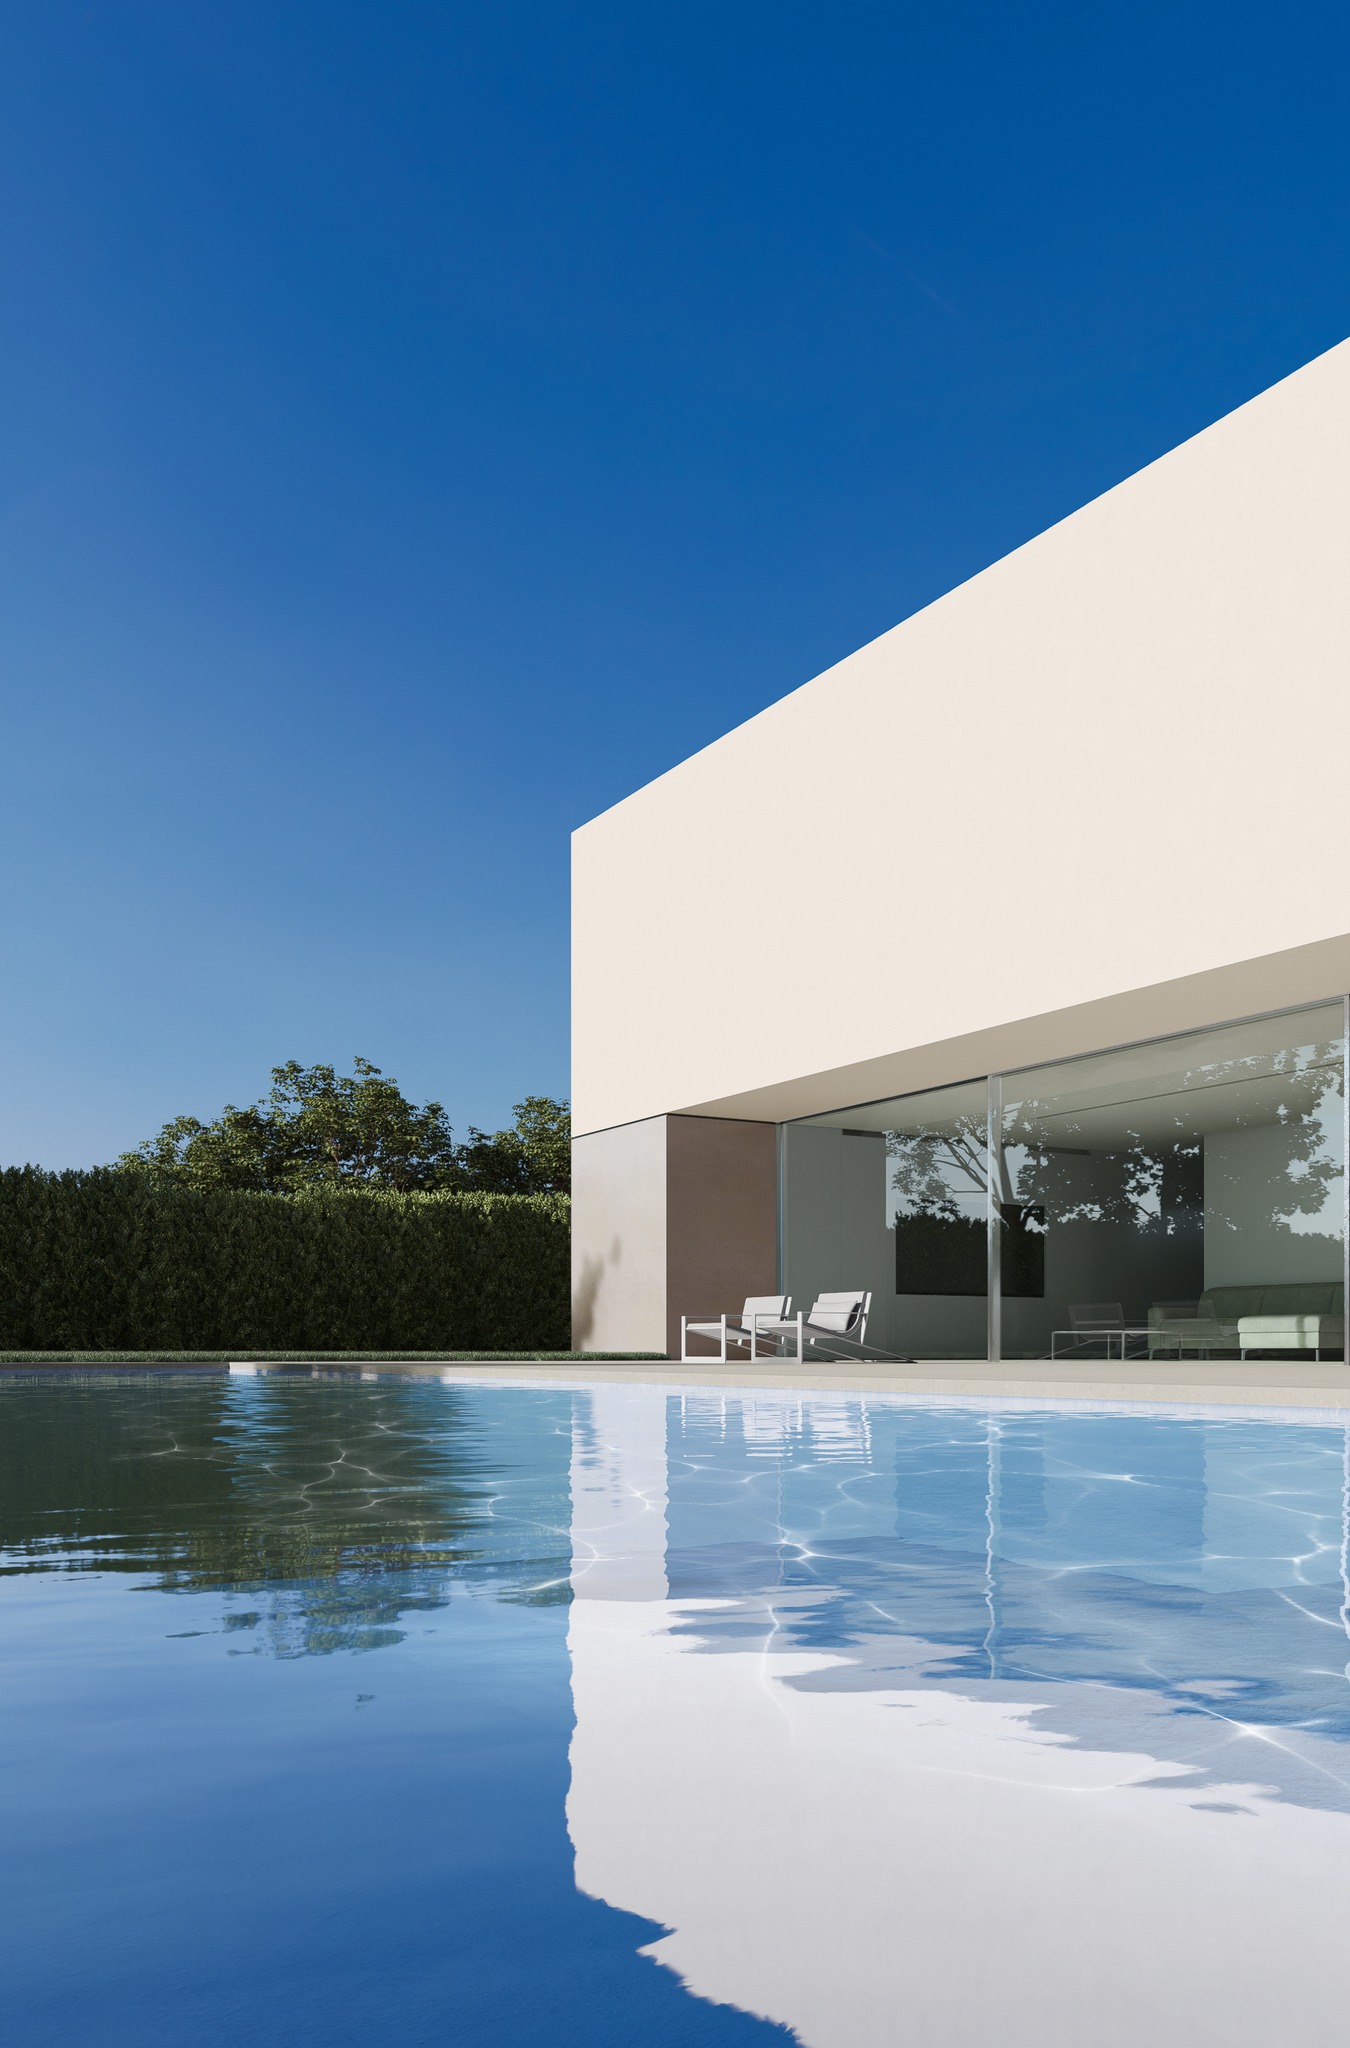
by House of the Silence - Fran Silvestre Arquitectos - Ariel Troche


